
Start with the end use, not the printer
Before you print a sample pack, decide what the pack must do. A design studio may need a few crisp proof pages for artwork sign-off, while a sign shop might need a thicker set that shows vinyl colours, photo images and backing options. An office pack for a marketing team usually needs clean brand colours, readable notes and enough detail for comparison without overcomplicating the print run.
The biggest mistake is mixing every possible sample into one file. That makes packs bulky, costs more in ink and paper, and often leaves the client confused. Keep the pack focused on the decision at hand. If the aim is colour approval, print the exact artwork and a small notes page. If the aim is paper selection, include the chosen media samples with a clear label on finish, weight and intended use.
For teams in Cape Town, especially where jobs move between Ndabeni, Montague Gardens and Woodstock, a simple naming system saves time. Use a job code, date and media type so anyone can reprint the same pack later without phoning around for details.
Choose paper and media that match the message
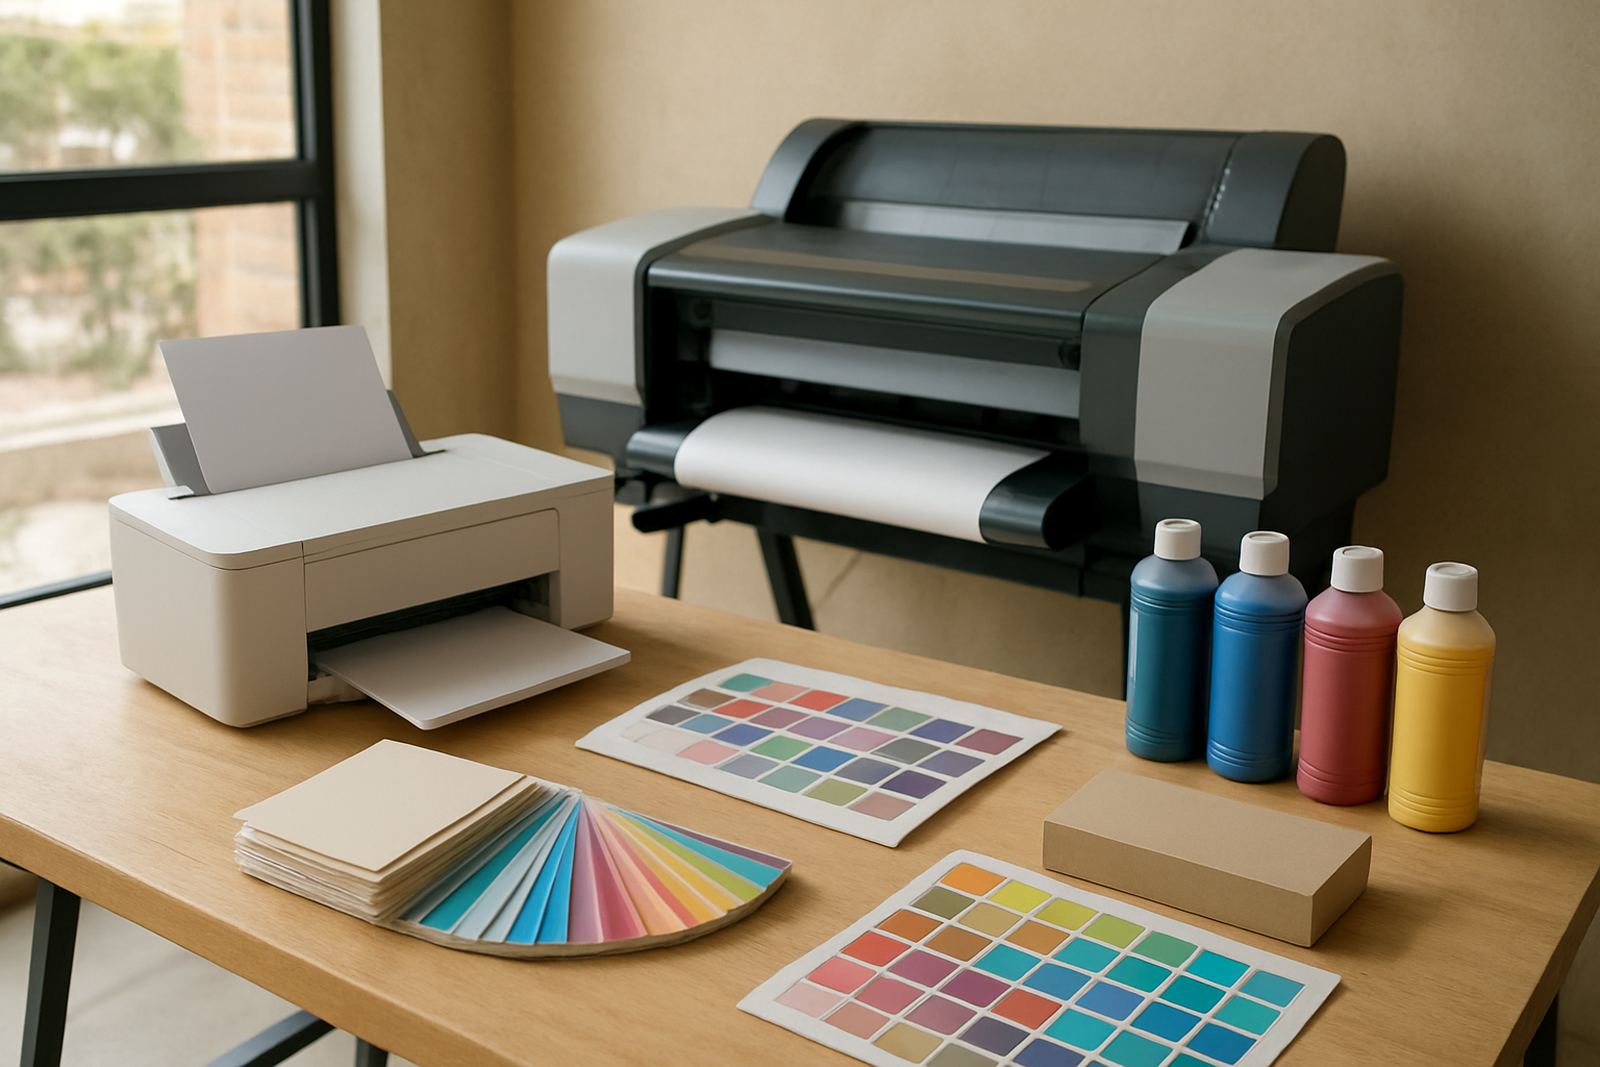
Paper has a bigger effect on sample packs than many teams expect. Smooth coated stock gives sharp colour and clean text, which works well for logo proofs and presentation sheets. Matte stock is better when you want low glare and easier writing by hand. For internal packs that will be handled often, a slightly heavier sheet tends to last better and feels more considered.
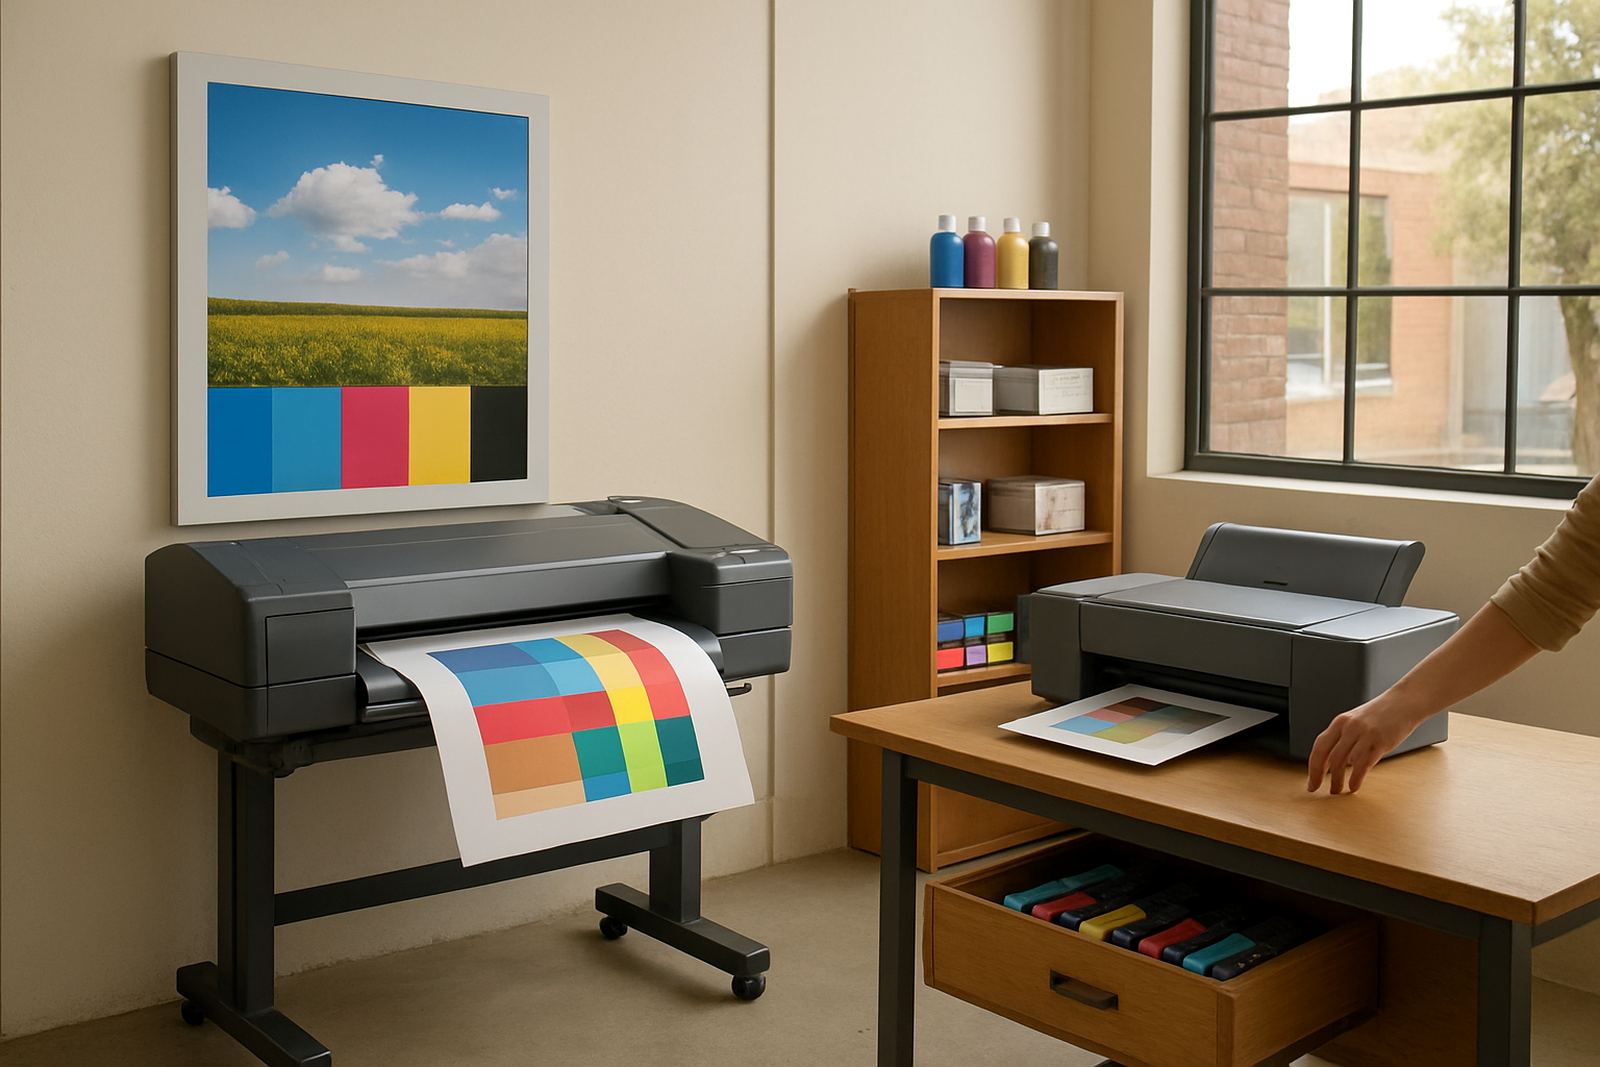
For wide-format sample packs, make sure the media suits the output size. A glossy poster sample can show strong colour, but it may not suit every client if the final work will be viewed under office lights. If you are showing signage options, include the same image on two or three media types so the difference is easy to see. That saves endless back-and-forth later.
- Use coated paper for sharp brand colour and fine detail.
- Use matte paper for notes, review meetings and packs that are marked by hand.
- Use heavier stock when the pack will travel between sites or be reused.
- Match the sample media to the final output as closely as possible.
At MyColour, this is where media matching matters. A pack printed on the wrong paper can make a colour look flat or too strong, and then the whole approval process slows down.
Lock in colour consistency before you print the full set
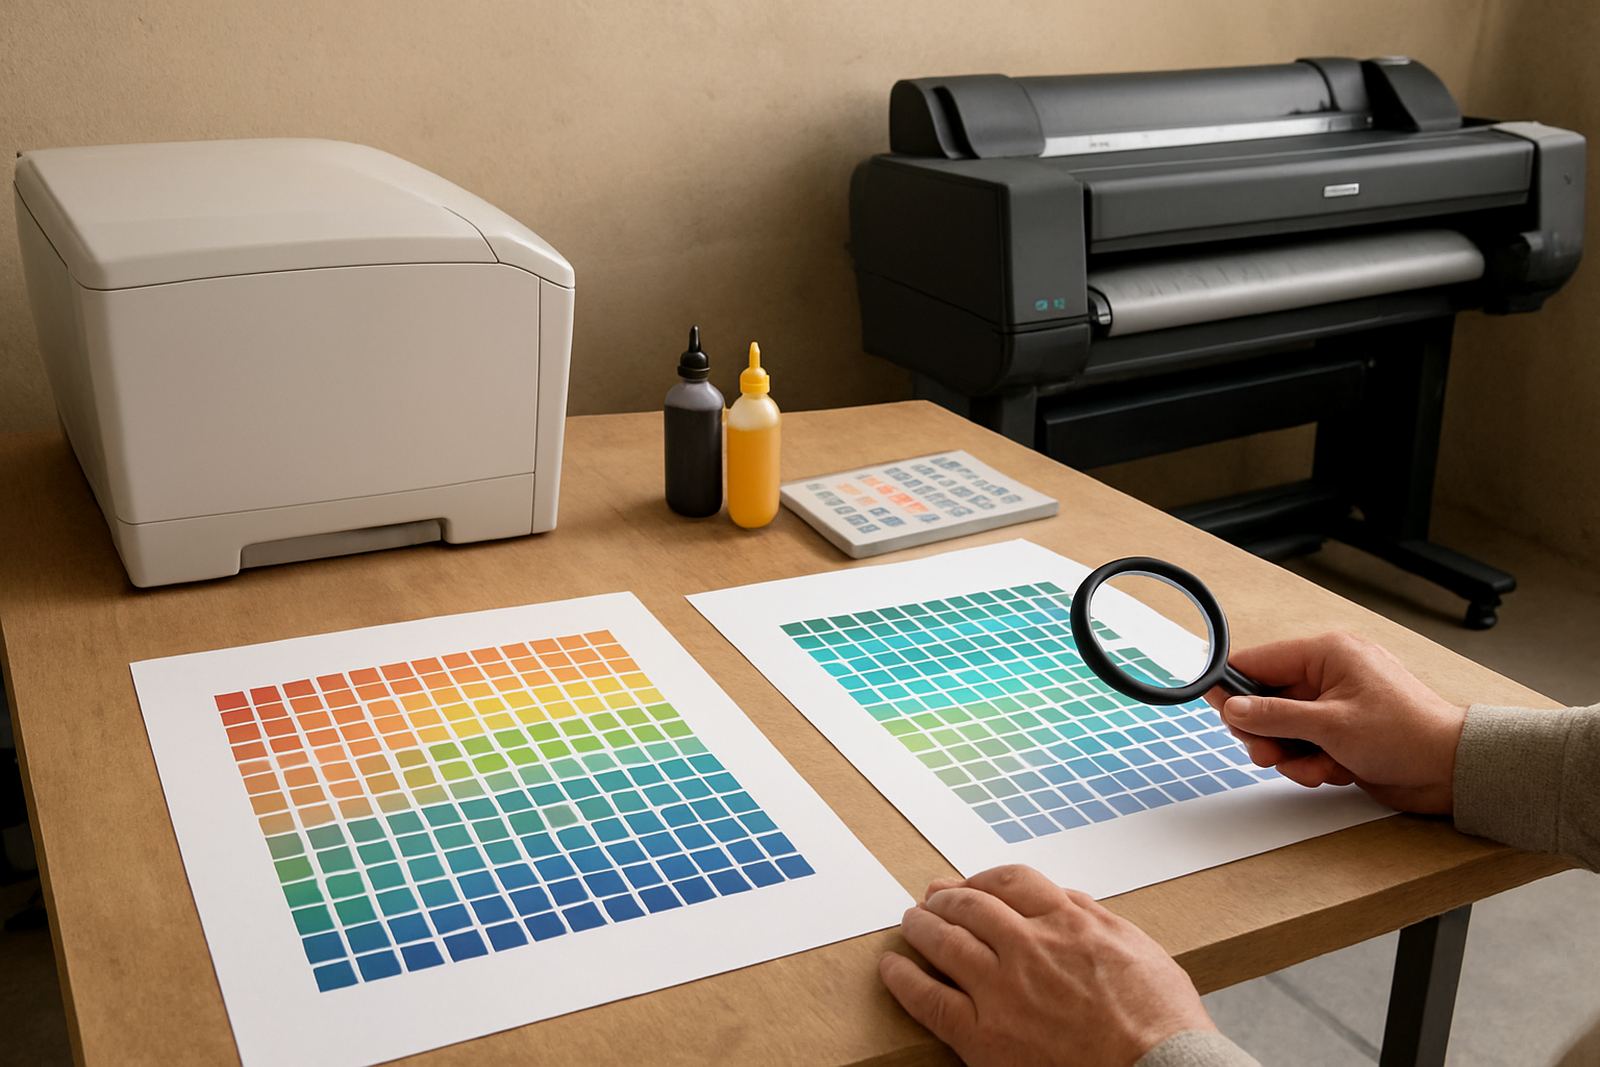
Sample packs only help when every page looks like it belongs together. That means checking printer settings before the run starts. Use the same colour profile or print mode across the whole pack, and avoid changing quality settings halfway through. If a pack includes both office colour pages and larger proof sheets, print them from the same calibrated machine where possible.
Run a quick test page before a full batch, especially if the printer has been idle after load-shedding or over a humid coastal weekend. Inkjet units can behave differently after a long pause, and a blocked nozzle can spoil the first few pages. Check alignment, nozzle health and paper feed before committing to the whole stack. It takes a minute or two, but saves reprints and unhappy clients.
- Test one page before printing the full pack.
- Keep colour settings consistent from first page to last.
- After power interruptions, check nozzles and alignment first.
- Store media in a dry place so humidity does not affect the finish.
Order the pages so clients can read them quickly
A sample pack should guide the eye. Start with the most important choice, then move to supporting details. For example, put the main proof on page one, followed by colour variations, material notes and finishing options. If the pack is for internal use, add a short summary page up front that lists the decision points and any action needed.
Keep labels plain and useful. Avoid decorative wording that sounds nice but says little. A clear label such as "A4 proof on matte stock" or "500 mm poster on glossy media" tells the reader exactly what they are looking at. Include quantities, cut sizes and any special handling instructions if the sample pack will be sent out by courier.
Where there are multiple decision makers, numbering helps. Page 1 should never leave the reader guessing what page 4 is about. A neat contents page can be useful for bigger packs, though for smaller ones a simple footer line with the section name is often enough.
Finish the pack so it survives handling and courier travel
Once the pages are printed, the finishing can make or break the presentation. Trim edges neatly, keep folds straight, and avoid overstuffing ring binders or clip folders. If a pack is going by courier from Ndabeni to another province, protect the corners and keep loose sheets from moving around. A cleanly finished pack says the work is organised before the client even opens it.
For small sample packs, stapling may be enough if the pages are light. For more formal sets, use a binding method that keeps the pages flat and easy to turn. If the pack includes printed media swatches or thick board samples, separate them from the paperwork so the pack does not bulge and twist. That is where many packs start looking untidy.
It also helps to keep a spare copy on file, especially when clients in Claremont, Woodstock or Montague Gardens want another set a week later. A saved version means the next pack can match the first one instead of starting from scratch.
Build a repeatable pack system for your team
The best sample pack process is one your team can repeat without guesswork. Decide who checks the file, who prints it, who does the final colour check and who hands it over or books collection. When roles are clear, packs move faster and there is less chance of missing pages or wrong media.
Keep a simple reordering note with each pack type so consumables do not run out at the wrong time. If a business prints many sample packs every month, planning ink supply matters. It is frustrating to have approvals lined up and then discover a cartridge or tank set is low. A steady supply plan avoids that problem and keeps production moving.
- Assign one person to file checks and one to final print checks.
- Track which media and ink are used most often.
- Keep a note of pack templates for fast repeat jobs.
- Schedule maintenance before quality drops, not after.
For a Cape Town team working across office colour and wide-format, this kind of routine is practical. It saves time, reduces waste and makes it easier to hand over a consistent pack whether the client is local or receiving it by courier.