Colour work that has to look right at the meeting
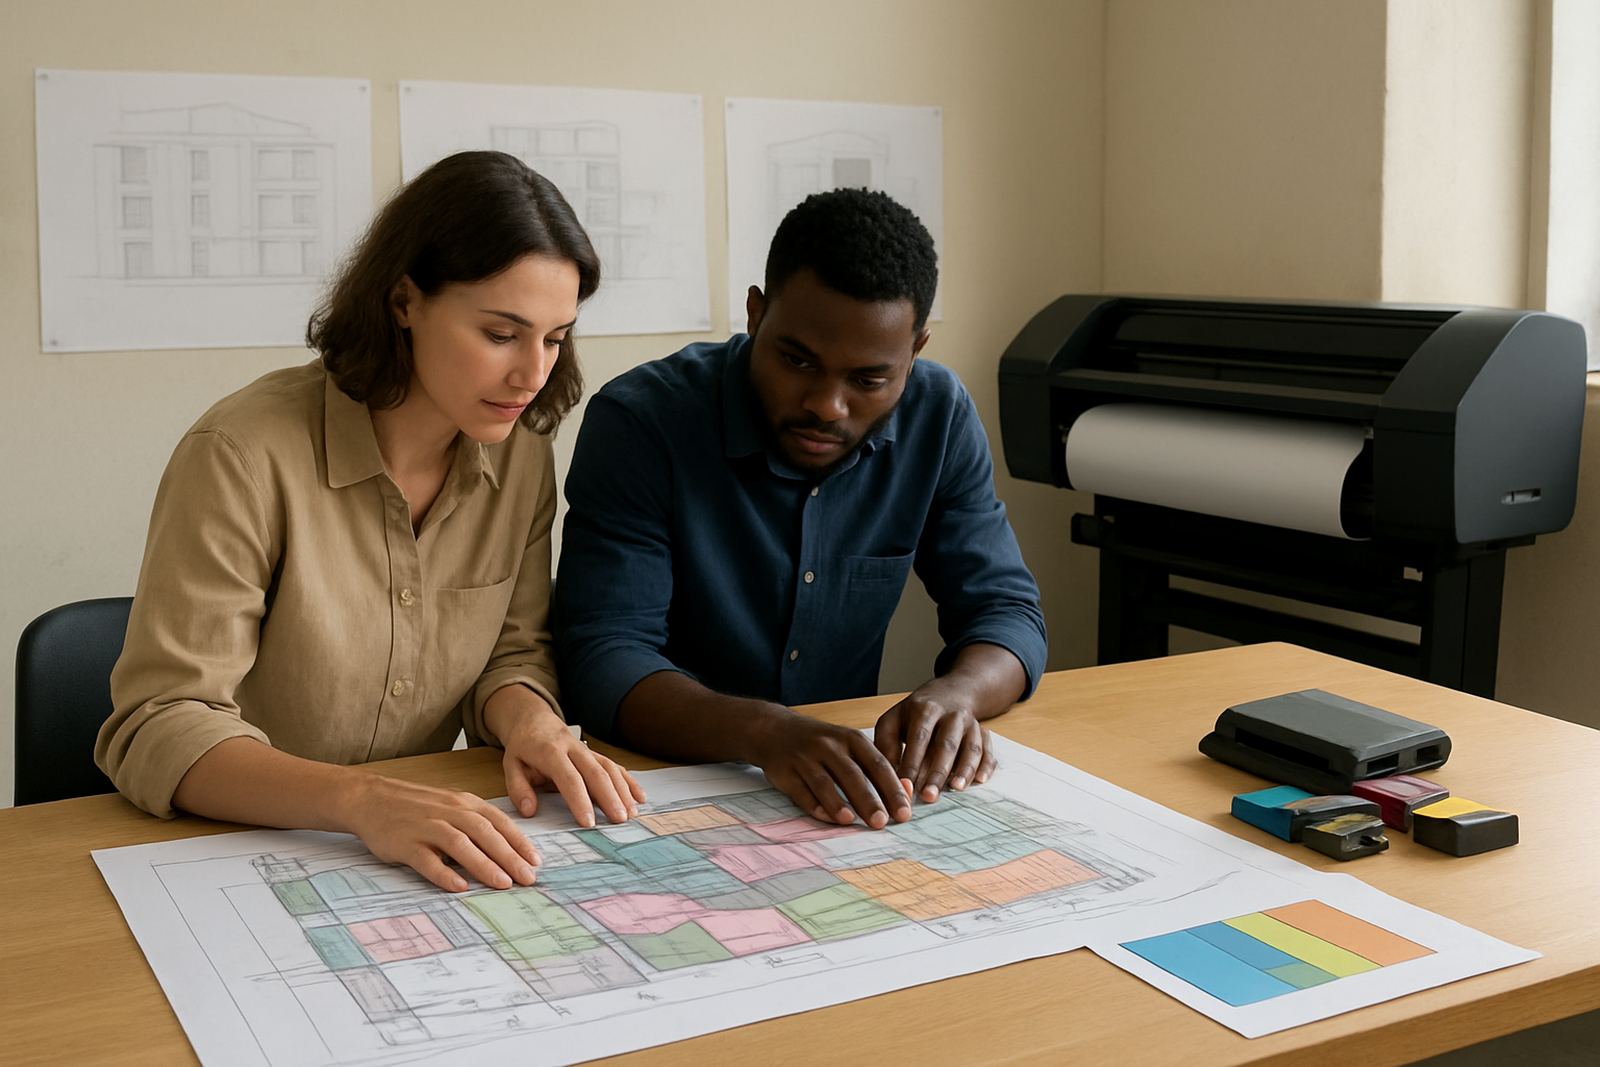
In an architect practice, colour printing is not only for pretty presentation boards. It is part of the working day, from marked up plans and zoning submissions to site instruction packs, consultant coordination and client sign-off sheets. A good setup needs to handle fine linework, solid fills, shaded elevations and text that stays sharp when copied, scanned or couriered to another office.
MyColour works with studios in Ndabeni, Montague Gardens, Woodstock, Claremont, Bellville and Somerset West, plus courier supply nationwide. The usual brief is simple: print neat colour on demand, keep running costs under control, and avoid being stuck with a machine that handles one job well but fights the rest. For smaller practices, that often means a desktop inkjet colour printer. For larger studios or those doing in-house boards, it can mean adding a wide-format machine with the right paper path and ink set.
The main challenge is usually not the printer alone. It is matching the machine to the kind of output the practice actually produces. A team printing A4 and A3 reports every week has different needs from a firm that prints concept boards, 914 mm presentations and consultant drawings for a review meeting. The wrong setup costs money in ink, media and staff time, especially when deadlines are tight and the printer decides to complain after load-shedding.
Typical setup for a busy architectural studio
Most architect practices fall into one of three working patterns. Some rely mostly on office colour for reports and small presentation sets. Others need a desktop printer at every production point plus one large-format machine shared by the whole office. The largest studios often separate office colour from wide-format output so that CAD plans, presentation boards and repro jobs do not block each other.
- Desktop inkjet colour printer for A4 and A3 reports, site packs and client handouts
- Large-format colour printer for 24 inch to 44 inch drawings, presentation boards and mounted outputs
- Matched inks and media so linework, blocks and photos print consistently
- Basic finishing space for trimming, sorting and keeping boards flat
- Stable power supply and surge protection, especially in areas hit by load-shedding
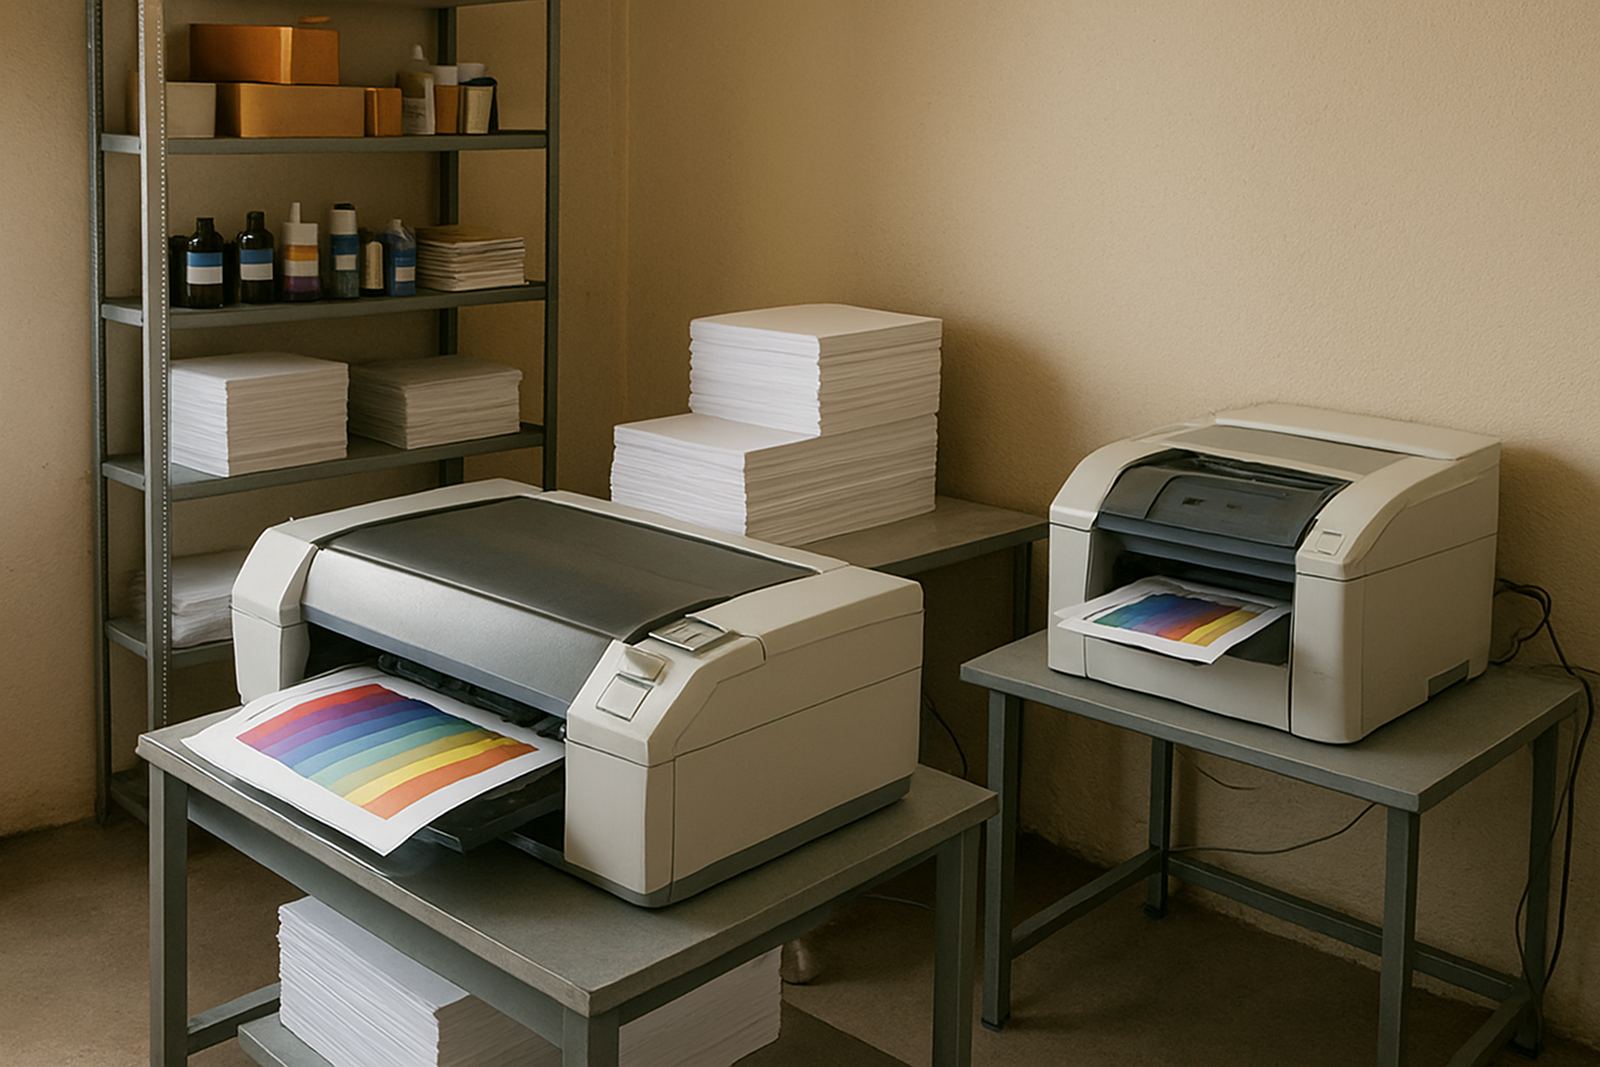
For many practices, the sweet spot is one reliable desktop colour printer and one wide-format machine shared by the drawing team. That keeps daily work flowing without pushing every page through the same unit. In Cape Town, humidity near the coast can also affect paper handling and storage, so it pays to keep media sealed and off the floor. A few damp reams can wreck colour consistency and curl at the wrong moment, which is a nuisance on a Friday afternoon.
Planning the print room before choosing the machine
Before anyone orders equipment, the print room needs a proper look. Measure the space, check the turning room for rolls and boards, and confirm where staff will load paper, collect prints and store ink. In smaller offices, one bad layout decision leads to people crowding around the printer, which slows down approvals and increases mistakes.
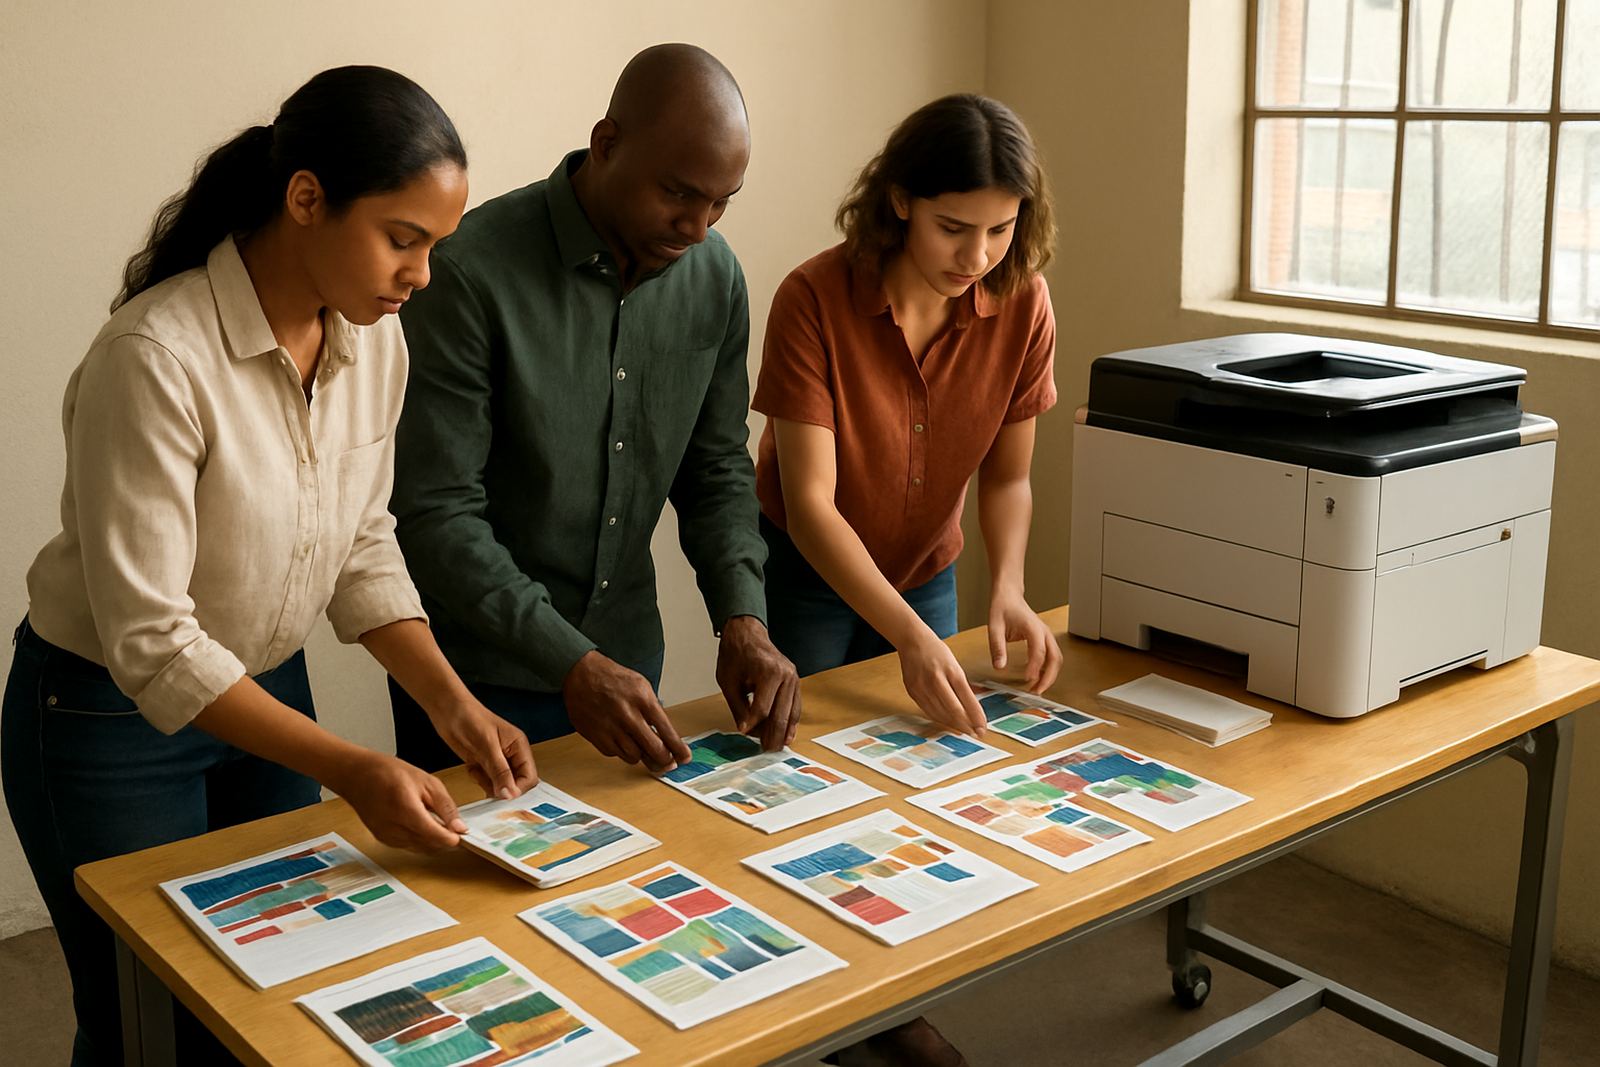
It also helps to think through the work flow. A practice that prints lots of A1 and A0 drawings should not keep the wide-format machine in a corner where sheets need to be bent around a filing cabinet. If client boards are being assembled on site, the team needs a clean table, cutter, and dry storage for foam board or heavier coated media. Municipal submission work may also need a specific format or copy quality, so the team should know what is required before pressing print.
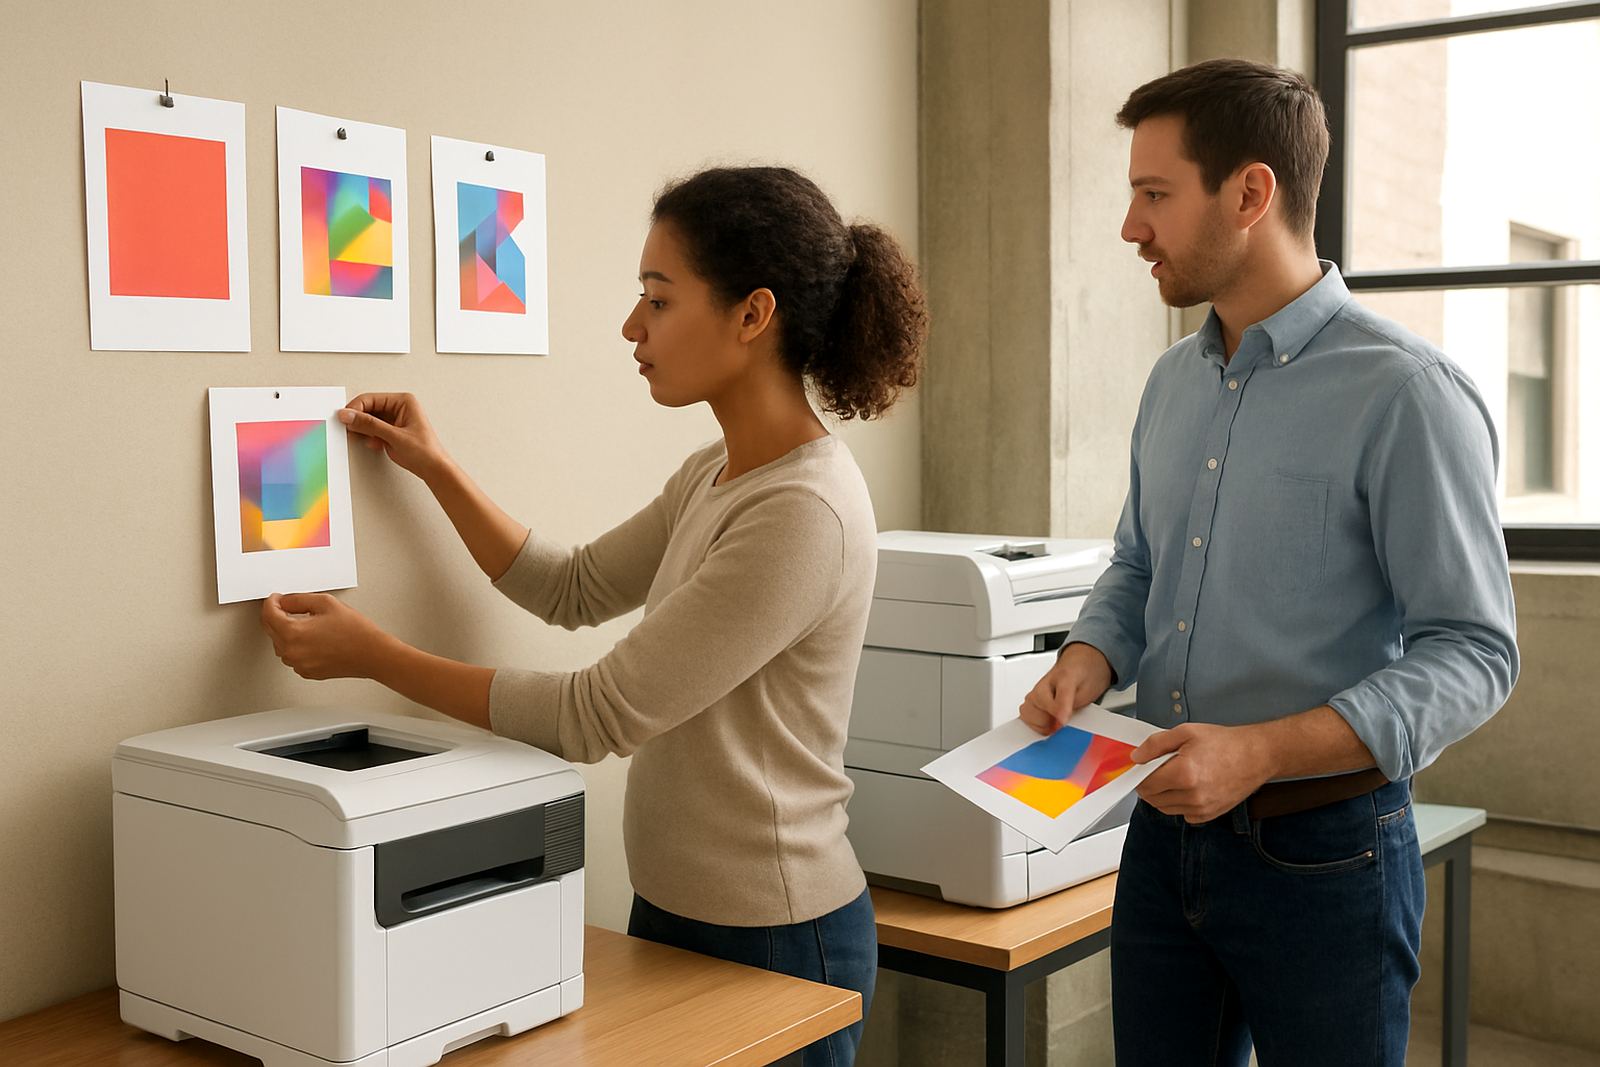
MyColour can help with media matching, user handover and practical print-quality checks. That matters because the same file can look very different on plain bond paper, coated presentation stock or heavier board. The aim is not fancy talk. It is making sure the output suits the job, the budget and the person who has to carry it into the meeting.
When a practice should step up from office colour to wide-format
Office colour works well for internal packs, consultant notes and smaller client sets. The trouble starts when the studio is doing repeated A1 or A0 prints, or when presentations need better image quality than a standard office machine can comfortably deliver. At that point, the cost per page and the amount of staff time spent reprinting become hard to ignore.
A wide-format machine makes sense when the practice needs regular output at scale, not just the odd oversized sheet. It is especially useful for firms that produce competition boards, urban design presentations, or tender packs with diagrams, renderings and overlays. If the team is still sending bigger jobs to a copy shop every week, in-house wide-format usually pays back faster than expected.
- Regular A1 and A0 drawings or boards
- Client reviews with colour-heavy visuals
- Fast turnaround for changes and mark-ups
- Lower courier and copy-shop spend
- Better control over proofing before issue
For some studios, the right answer is a measured upgrade, not a full overhaul. A solid desktop printer for day-to-day work, then one wide-format unit for the bigger material. That combination keeps the office flexible and avoids overbuying machines that sit idle. It also means staff can print proofs quickly without tying up the main output device.
Common mistakes that waste ink, paper and time
The biggest mistake is buying by price only. A cheap machine can become expensive if the ink is hard to manage, the media path is fussy, or the output needs constant tweaking. Another common error is using one printer for every job, from quick A4 colour memos to full boards. That creates queues and wear, and it usually ends with someone saying the printer is the problem when the real issue is the setup.
Other mistakes show up in the print room, not the spec sheet. Open paper packs left in damp air, mixed media types stored together, and users printing client boards without checking the file size all cause avoidable waste. It is also easy to overlook maintenance. Nozzles, rollers and general cleaning need to be part of the routine, not something done only after a fault appears.
MyColour can support preventive maintenance, remote help and collection coordination where needed. That is useful for practices that cannot afford downtime while a deadline is waiting. A little planning goes a long way here, and it saves more than just money.
Budget ranges for architect practices in Rand
Budget depends on volume, format size and the level of finish expected. A smaller practice that mainly prints A4 and A3 colour work may start with a desktop inkjet colour printer and a sensible consumables plan. A larger studio with regular presentation output will need a more substantial investment, especially if the team wants dependable wide-format printing in house.
As a working guide, entry-level office colour setups can start from about R6,000 to R18,000 for equipment, with ongoing ink and paper cost on top. Mid-range desktop and shared office colour options often sit between R18,000 and R45,000, depending on capacity and features. Wide-format setups for architectural boards and plans can range from about R35,000 to R120,000 plus media and inks, with higher-end production needs going beyond that. Installation, training and maintenance planning should be included in the total, not treated as an afterthought.
For practices in Cape Town and beyond, the sensible approach is to budget for the full print cycle, not just the machine. That means ink supply planning, spare media, surge protection and a backup plan for busy weeks. A machine that sits idle is wasted money, but a machine that cannot keep up when a submission is due is worse.