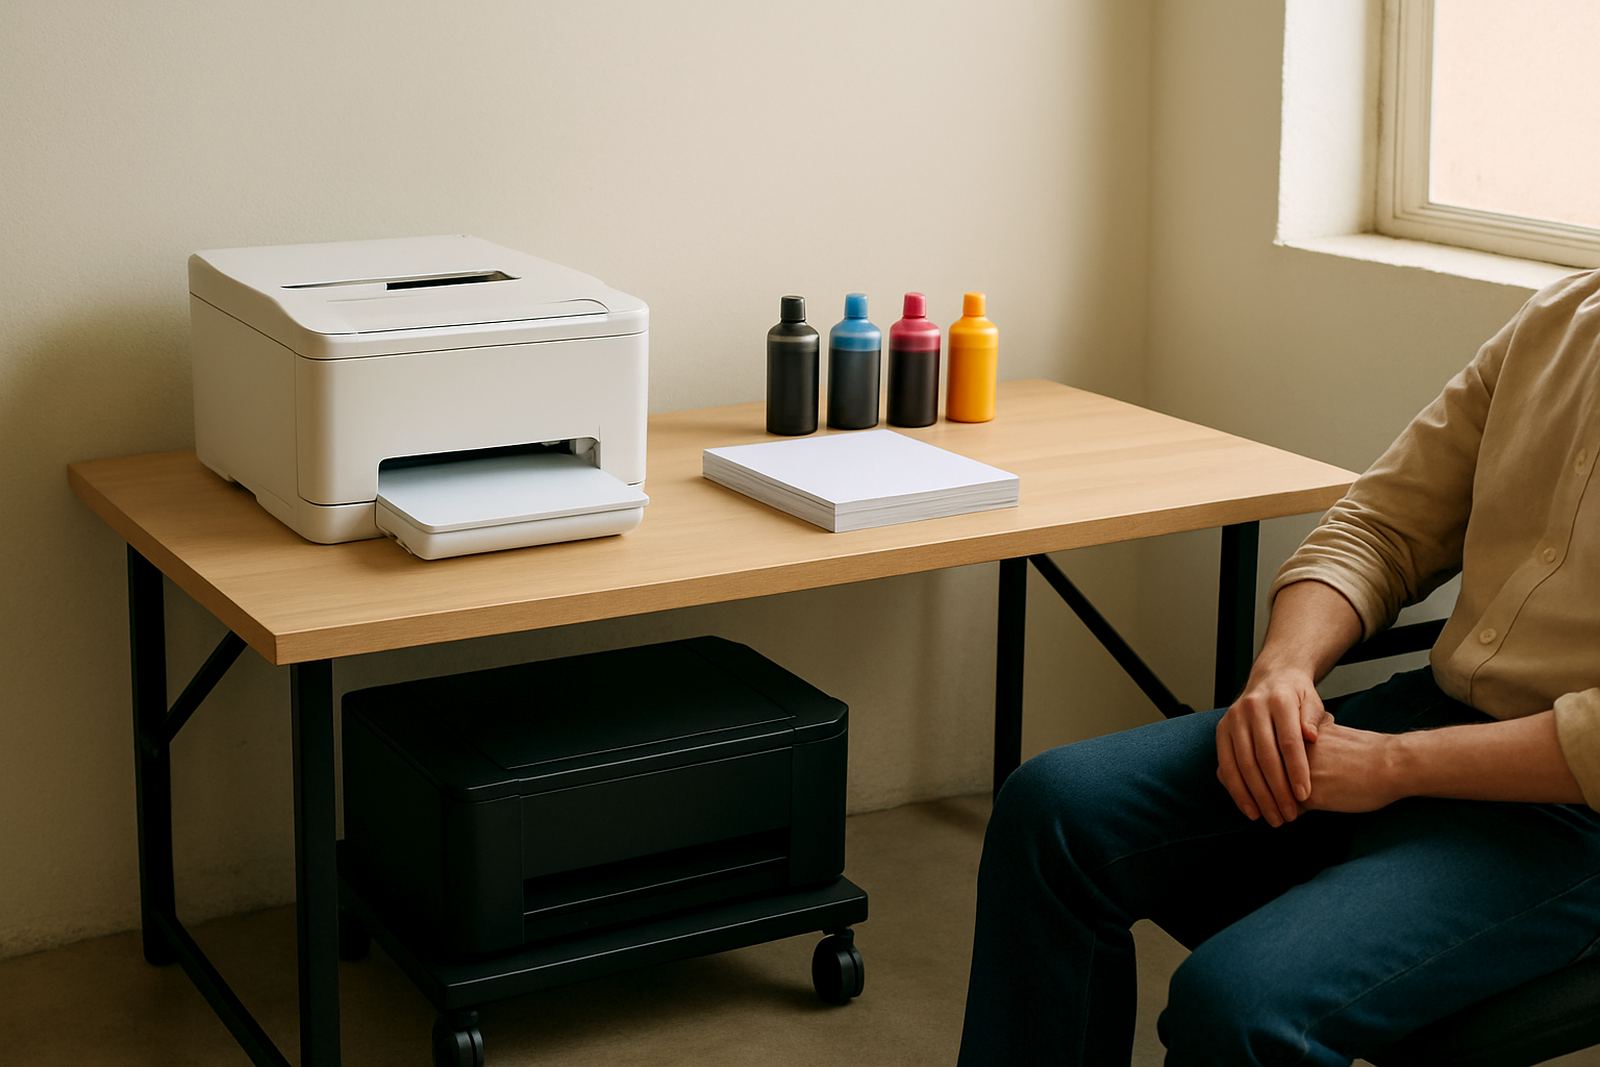

Start with the room, not the printer
Most print faults that look like ink trouble begin with the room. In Cape Town, dust from open loading bays, coastal damp and aircon that runs all day can all affect output. If a printer sits near a door, fan or packing bench, paper picks up grit and finished sheets get handled before they are fully dry. That is when fingerprints, edge marks and light scuffing show up on proofs and posters.
Keep the printer on a firm level surface, away from direct sun and away from the kettle, compressor or courier packing area. Leave space for airflow and for loading paper without bending the stack. If the office closes at night, cover the machine or switch off the top cover only after the output tray is clear of loose sheets. A little care here saves a lot of reprints.
- Keep paper sealed until it is needed.
- Store reams flat in a dry cupboard, not on the floor.
- Do not stack prints where hands, mugs or tools pass over them.
- Vacuum dust around the machine regularly, especially near rollers and trays.
Choose the right media for the job
Smudges often come from using the wrong paper or film for the ink and the job. A heavy poster sheet, a coated proofing paper and a simple office colour sheet all behave differently. If the media cannot accept the ink properly, drying slows down and the image can mark when it is touched too soon. For sign shops, that matters on short run posters, comp slips for client approval and any output that moves from printer to trimmer to courier box in one afternoon.
Match the sheet to the output and keep a note of what works best for each machine. If a design studio in Woodstock prints mood boards on one stock and client proofs on another, the team should know the dry time and how the sheet feels when it is ready to handle. On a humid morning in Somerset West or near the harbour, give coated media a bit more time before stacking it.
- Use media suited to the ink type in the printer.
- Check if the sheet is meant for draft, proof or final presentation.
- Keep a simple note of the paper weight, finish and dry time.
- Test a new batch before running a full job.
Handle prints only when they are ready
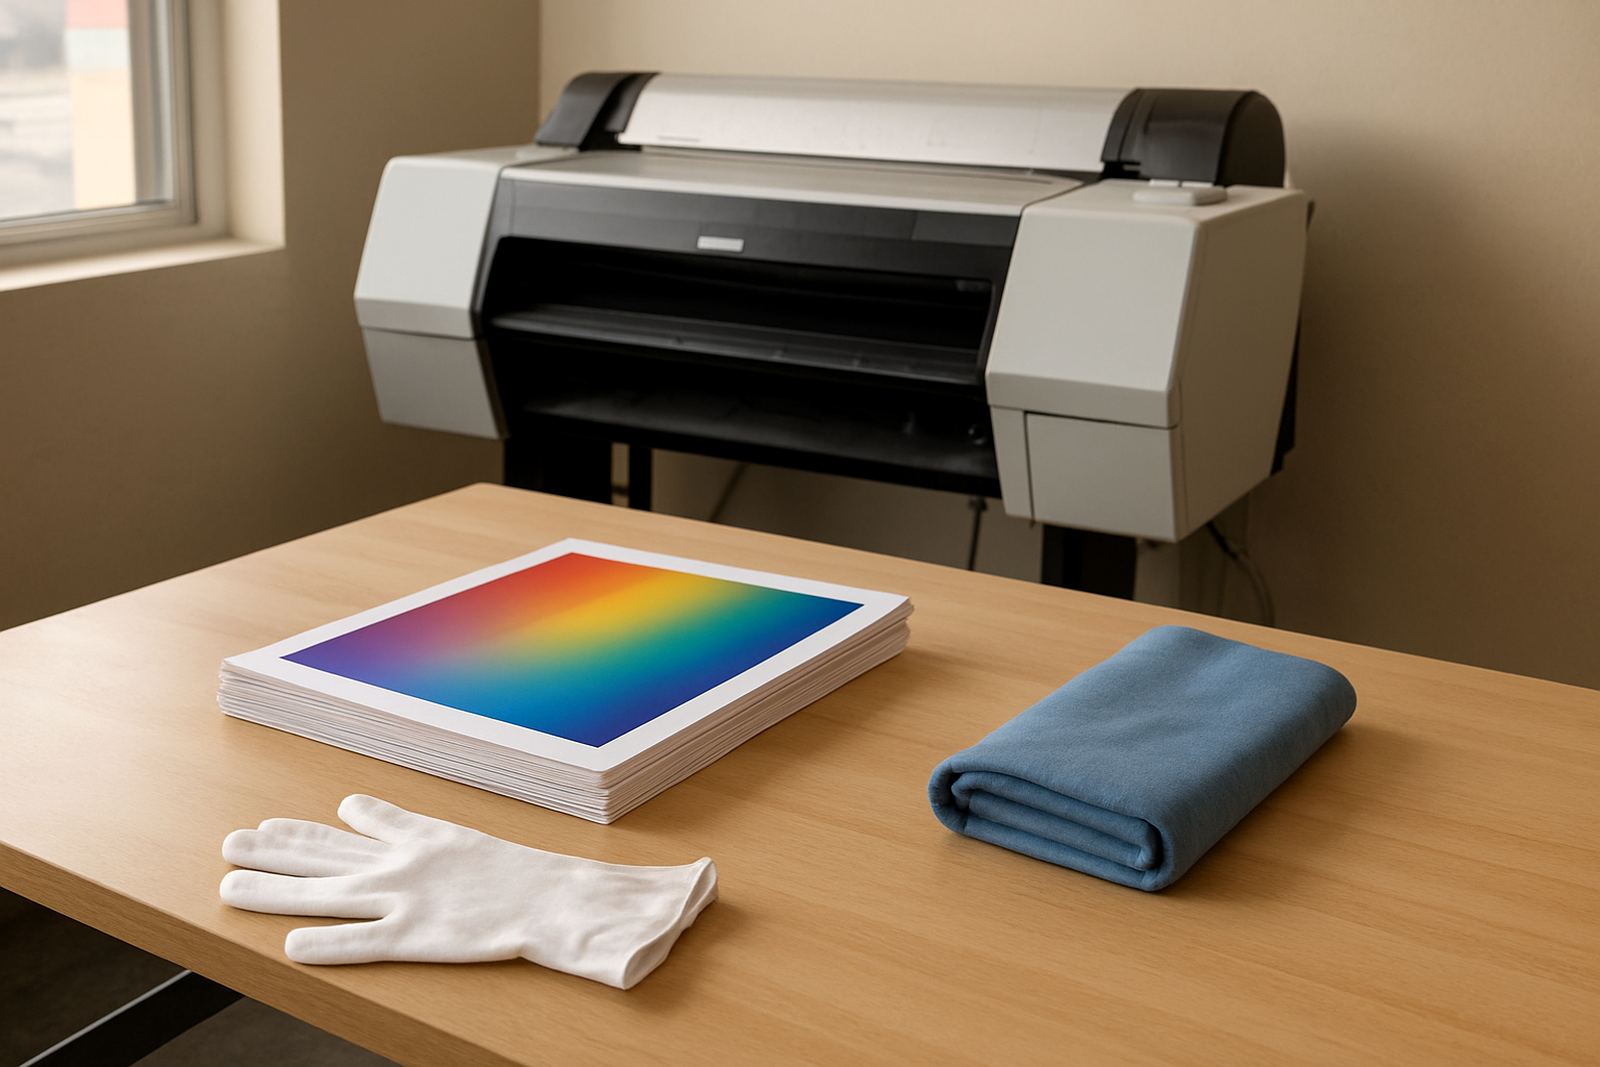
Many marks are caused after the print leaves the machine. Fresh ink can transfer to fingers, sleeves and even to the back of another sheet if the stack is closed too soon. In a busy office, the quickest fix is often just slowing the next step. Let the print rest on the tray, then move it by the edges with clean hands. If the job is going to a client meeting, trim or pack it only when the surface is dry and cool to the touch.
For larger colour sheets, use two hands and support the full width so corners do not curl. If a poster is going into a sleeve or courier tube, check that the sheet is fully dry before packing. Pieter Smit, our service technician, often sees damage that started with a rushed handover rather than a printer fault. That is why a simple user handover matters after installation.
- Touch the print by the edges, not across the face.
- Separate finished pages before stacking them.
- Use clean, dry gloves for very full colour work if needed.
- Never place a fresh print face down on another print.
Keep the feed path clean and steady
Dust marks and tiny streaks usually point to feed path issues. Small paper scraps, adhesive residue from labels or loose coating dust can travel through the printer and show on every sheet until the path is cleaned. In offices that print daily, a quick check once a week prevents these faults from building up. It also helps with load-shedding recovery, because a printer that has been left idle through a power cut often needs a short check before heavy use starts again.
If a machine starts picking up multiple sheets, leaving scuff lines or showing repeated marks in the same place, stop and inspect the trays, guides and rollers. A print quality check can save media and ink, and it is far cheaper than sending a stack of spoiled proofs to a client in Bellville or Claremont. If the fault repeats, do not push through the job, get it checked before the next run.
- Remove loose paper dust from trays and guides.
- Check for curled corners and damaged sheets in the stack.
- Keep stickers, tape and trimming scraps away from the feed area.
- Run a small test before a long print run.
Drying time and stacking discipline matter
Drying time is one of the easiest habits to get wrong because the print may look finished while the surface is still open to marks. That is especially true with dense colour, solid blacks and full bleed artwork. Give the output a proper drying window before stacking, folding or boxing it. If the office is warm and dry, the time is shorter. If the weather is cool and damp, as it often is close to the Cape coast, let the job sit longer.
Once dry, stack prints in the same direction and avoid heavy pressure on top of them. Keep mixed jobs apart so a rich purple poster does not mark a pale brochure cover. Where teams share a production table, use a clean space for finished work and a separate space for work still drying. Simple routines stop good prints being ruined in the last metre.
- Allow extra drying time for heavy coverage.
- Do not rush a fresh stack into a box or sleeve.
- Keep finished work separate from still-drying jobs.
- Use flat storage for output that must wait for collection.
A Cape Town example: one workshop, fewer reprints
A small sign shop in Ndabeni called us after repeated smudges were showing up on presentation posters. The printer was fine, but the output sat beside a side door used by couriers and staff, and boards were being stacked straight away after printing. Dust from the yard and quick handling were doing the damage. We moved the machine, checked media choice, set a drying space and gave the team a short handover on how to lift and stack prints.
Within a week, the reprints dropped and the proofs looked cleaner when they left for clients in Montague Gardens and Somerset West. The change was not complicated. It was just a better habit around space, timing and handling. That is usually the case with print quality. The printer matters, but the routine around it matters just as much.
If you need help tightening those routines, MyColour can assist with printer installation, media matching, preventive maintenance, collection coordination and consumable reordering from Ndabeni to branches and courier stops across South Africa. Practical advice keeps the output bench calm and the print work moving.
Simple checks that keep colour work clean
Build a short checklist into the day and most smudge problems fall away before they spread through the week. It does not take long, and it helps every kind of team from a design studio to a busy office that prints reports, posters and client copies on the same machine. The key is consistency. If one person loads carefully and another rushes the stack, the job still comes out uneven.
- Check the room for dust and moisture before a long run.
- Confirm the right media is loaded for the job.
- Leave enough time for drying before stacking.
- Keep hands, tools and drinks away from finished prints.
- Inspect the feed path after a paper jam or power cut.
When those habits stay in place, colour prints arrive cleaner, stay cleaner and reach the client in better shape.