
Start with a clean, dry place to store roll media
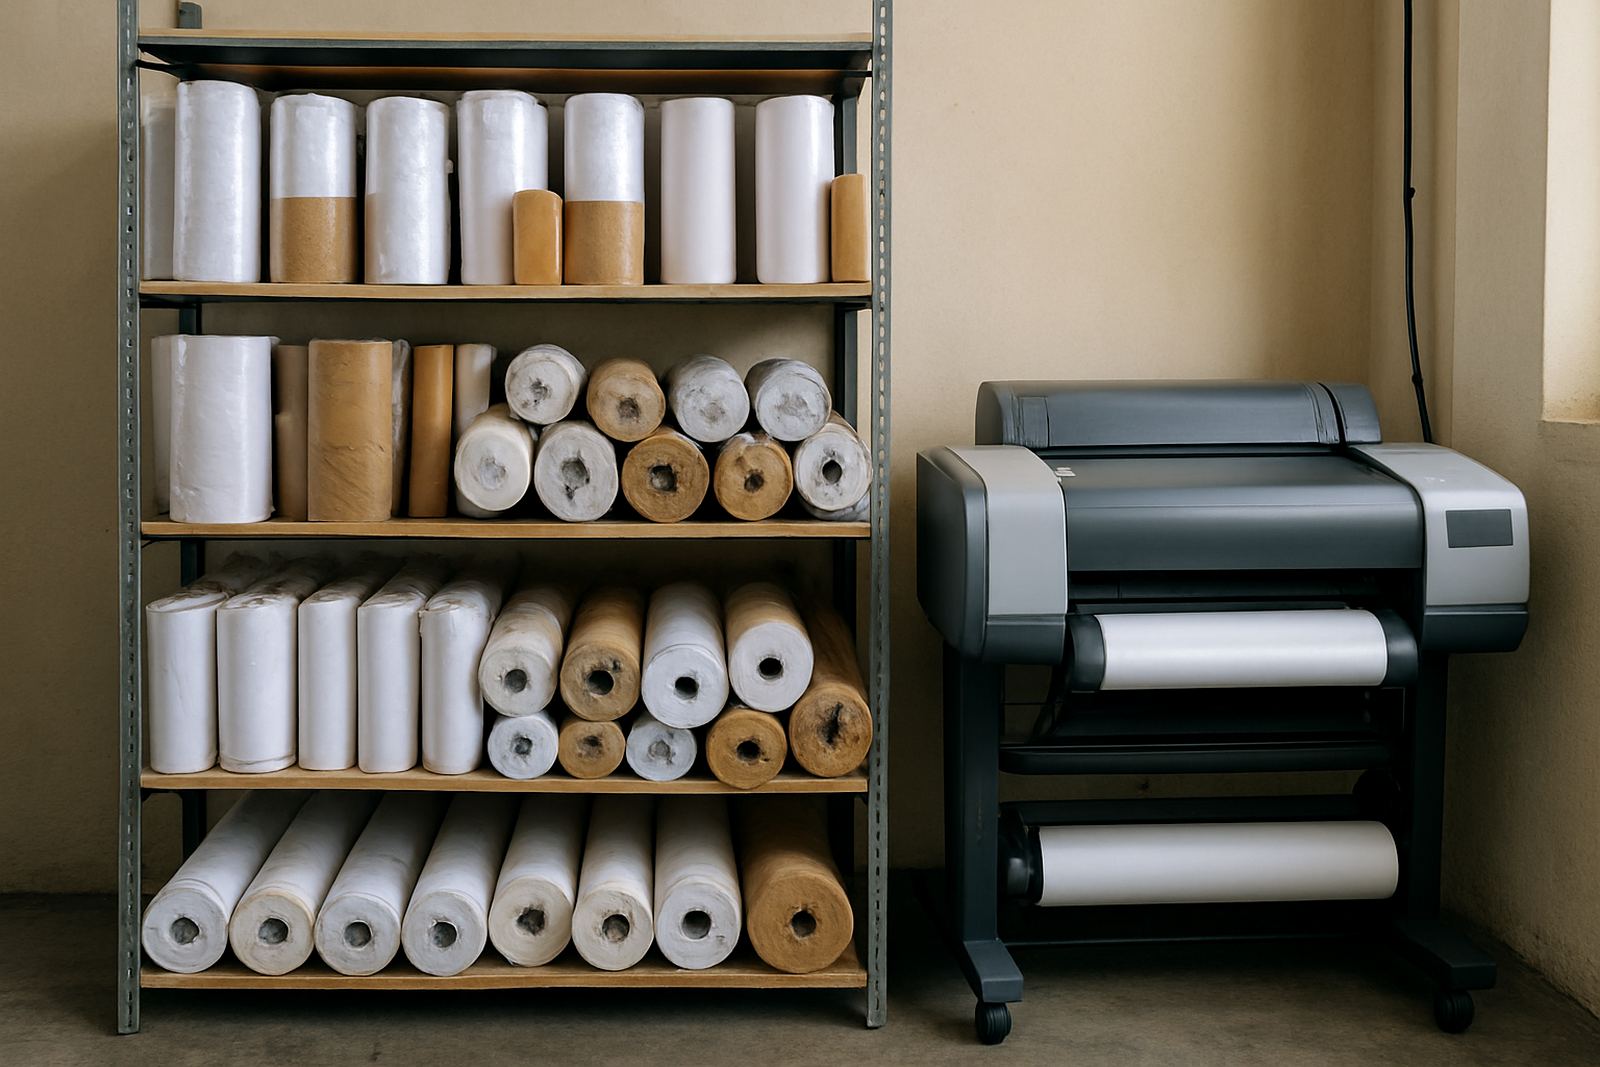
Roll media lasts longer when it is kept off the floor, away from dust and out of direct sun. In Cape Town, especially around Ndabeni and Montague Gardens, damp air can creep into the outer wrap and make edges curl if rolls are left near open doors or against cold concrete. A simple rack, a level shelf or a closed cupboard is better than stacking rolls in a corner where they can take a knock.
Keep the original packaging on until the roll is needed. That outer wrap helps protect coated poster paper, photo paper and film from finger marks, moisture and warehouse dust. If a roll has been opened, seal it properly again and store it horizontally, not standing on the end where the core can distort. A bent core can cause tracking issues later, and that means wasted metres.
- Store rolls in a room with steady temperature and low humidity where possible.
- Keep rolls away from windows, heaters and wet floors.
- Mark open rolls clearly so the oldest stock gets used first.
Check the roll before loading it into the printer
Before loading, look for crushed corners, split edges, dents in the core and any sign of moisture. If the outer wrap has been torn in transport, give the roll a closer inspection because the first few layers may already be marked. It takes a minute and can save a print run.
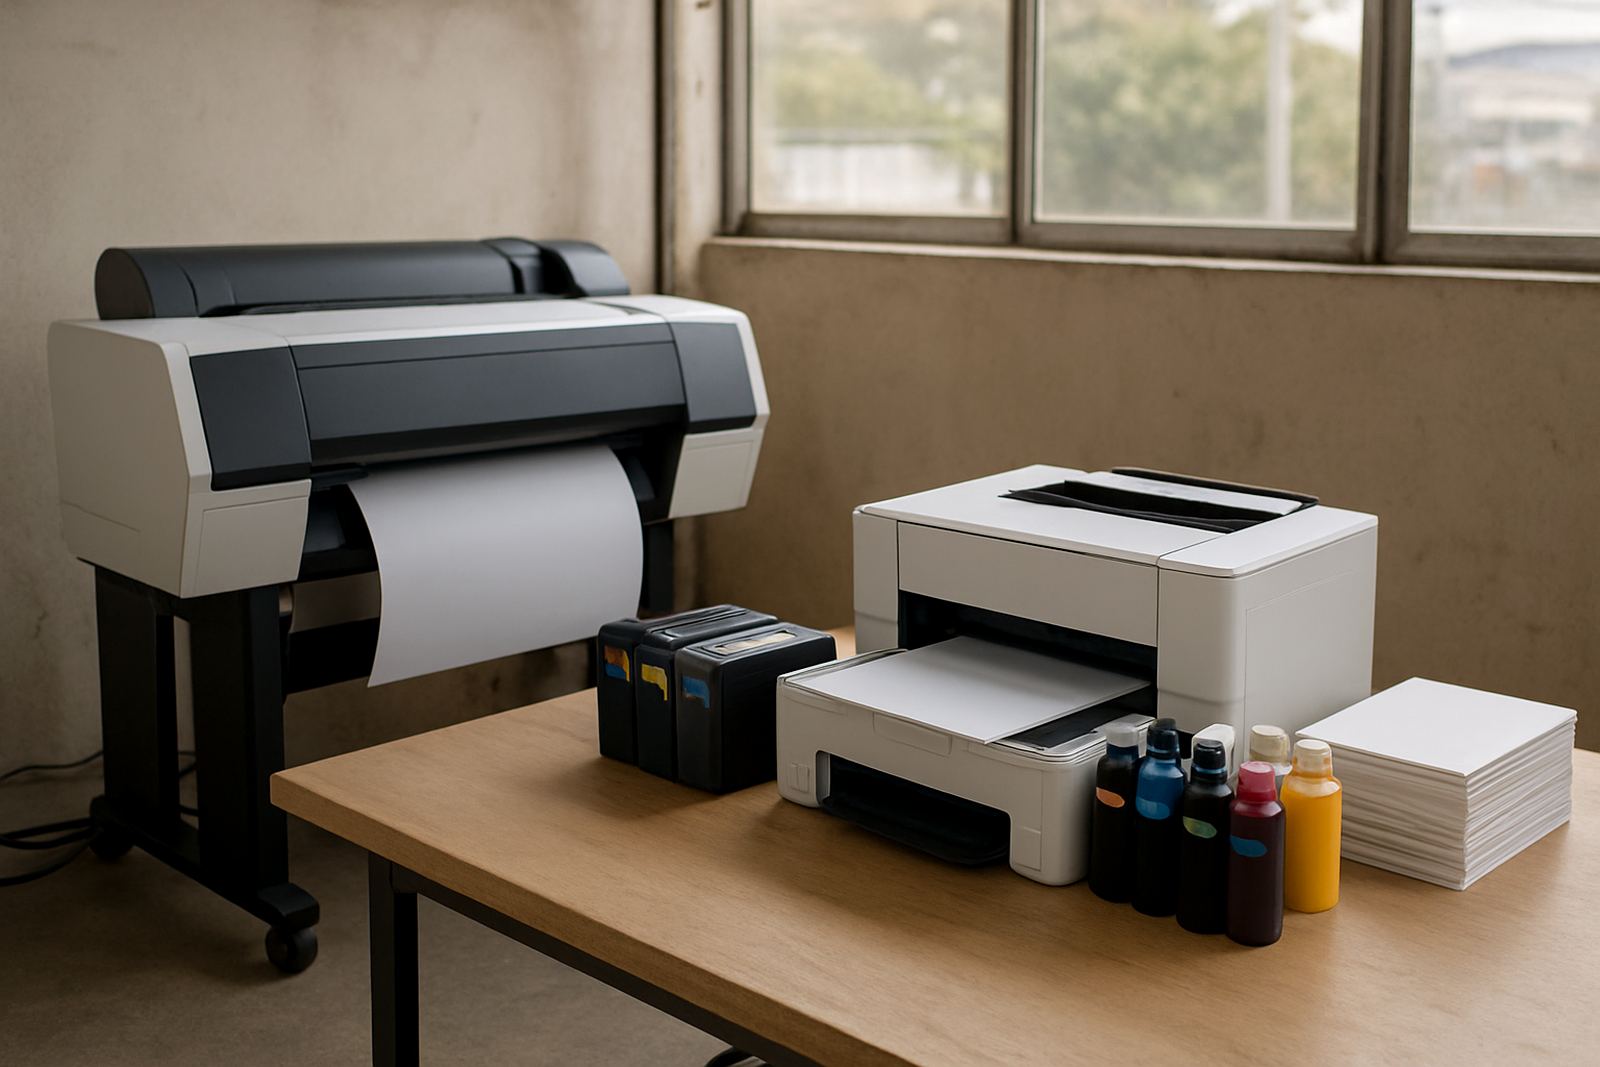
Also check that the roll width and core size match the printer's requirements. A roll that is slightly too narrow can wander, while a roll that is too heavy for the holder puts strain on the spindle and feed mechanism. For a busy office doing proofs in the morning and posters in the afternoon, that is the sort of small mismatch that turns into a bigger service call later on.
- Inspect the edges for waviness or crush marks.
- Make sure the core is straight and not split.
- Confirm the printable side before mounting the roll.
- Wipe hands clean before touching coated media.
Load the roll carefully so the paper feeds straight
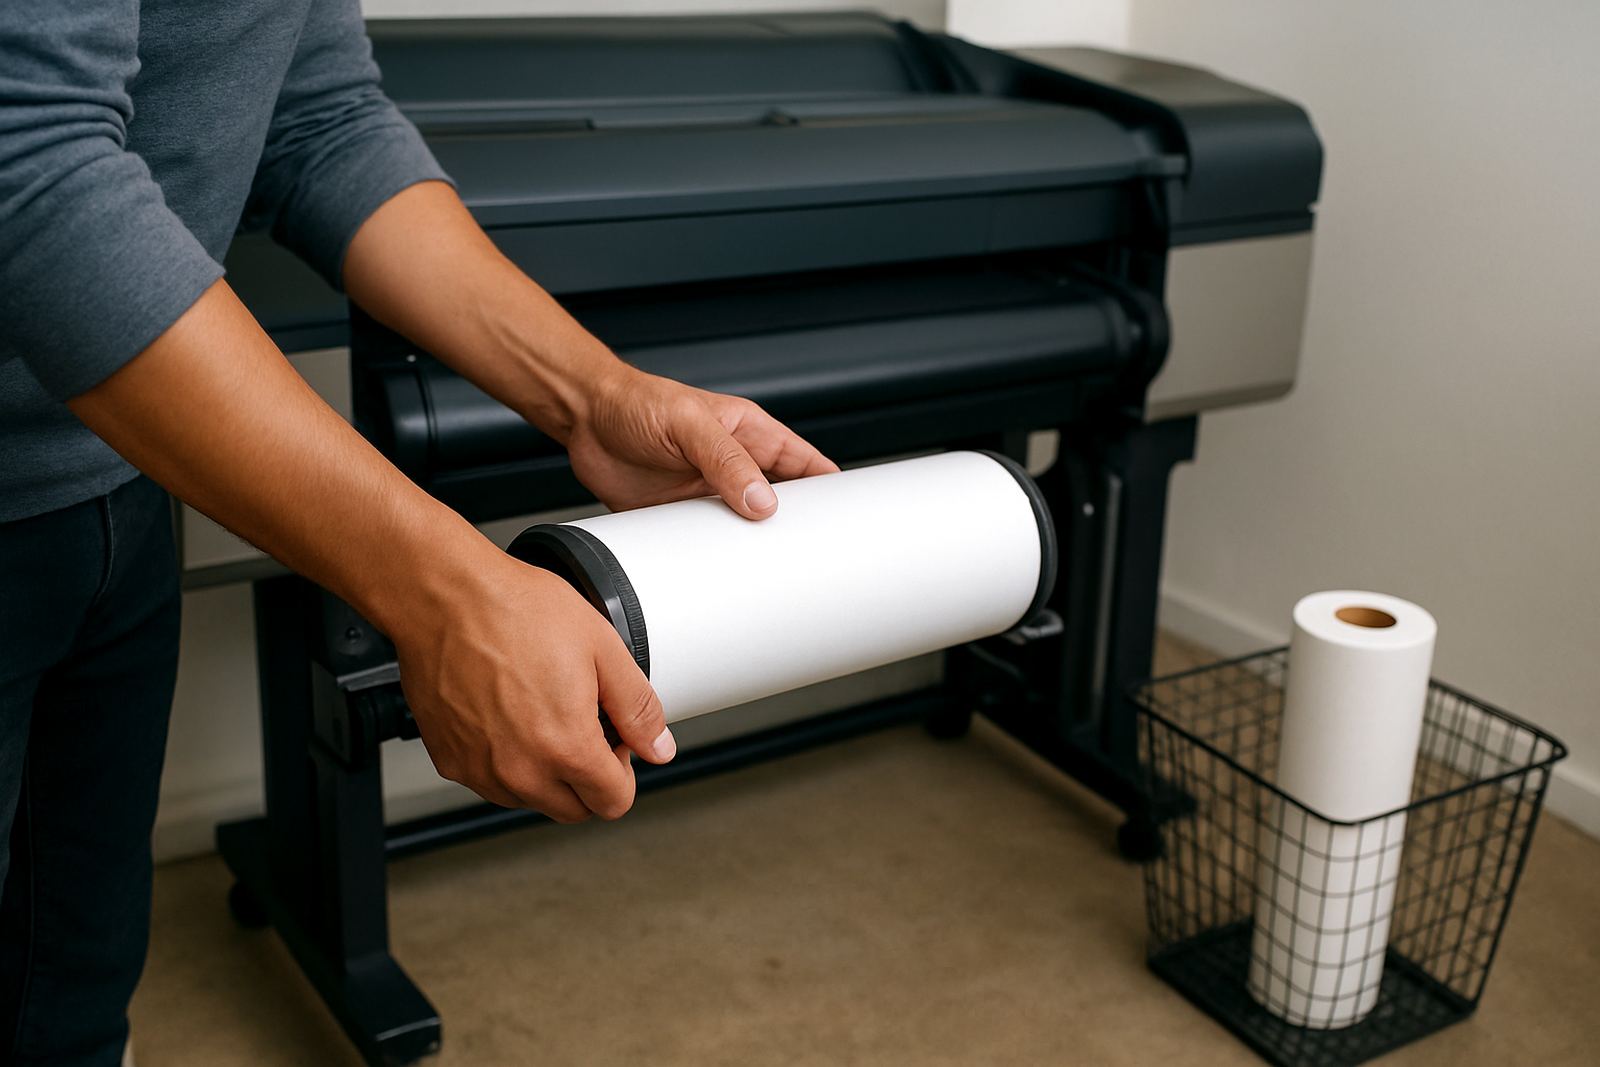
Loading is where many problems start. Set the roll squarely on the spindle, lock the holders in place and make sure the media unwinds in the correct direction for the machine. If the edge of the roll is not even, trim a small amount first rather than forcing a crooked start through the printer. That small step can prevent skew, head strikes and wasted ink.
When feeding the lead edge, keep the path straight and avoid bending the media sharply. Poster paper with a coated surface can mark easily if it rubs against a dirty guide or a rough edge. On some larger units, it helps to have two people load the roll, one at each side, so the roll does not twist while it is being seated. It sounds basic, but it matters when the machine is running long jobs for a sign shop in Bellville or a design studio in Woodstock.
- Load with the printable side facing correctly.
- Keep the roll centred on the spindle.
- Do not pull hard on the media to correct alignment.
- Feed a clean, square lead edge into the printer.
Plan cutting and trimming before the print comes off the machine
Safe trimming starts before the knife touches the sheet. Know how much finished size you need, how much bleed is included in the artwork and where the trim line will fall. If the poster is going into a frame, leave enough margin for the clamp or the insert edge. If it is going out for site mounting, allow for a tidy border so the installer is not forced to recut on the job.
Use a flat table and a sharp straight blade, not a worn blade that tears the coating. Dull blades leave ragged edges and can lift fibres on heavier paper. Keep hands clear of the cut path and never try to hold a small sheet down with a palm directly beside the knife. One slip can ruin a print and injure a finger.
- Measure twice before cutting the first sheet.
- Replace blunt blades early.
- Use a metal straight edge with a non slip backing.
- Stack finished prints flat so the edges do not curl.
Protect printed posters while they dry and cool
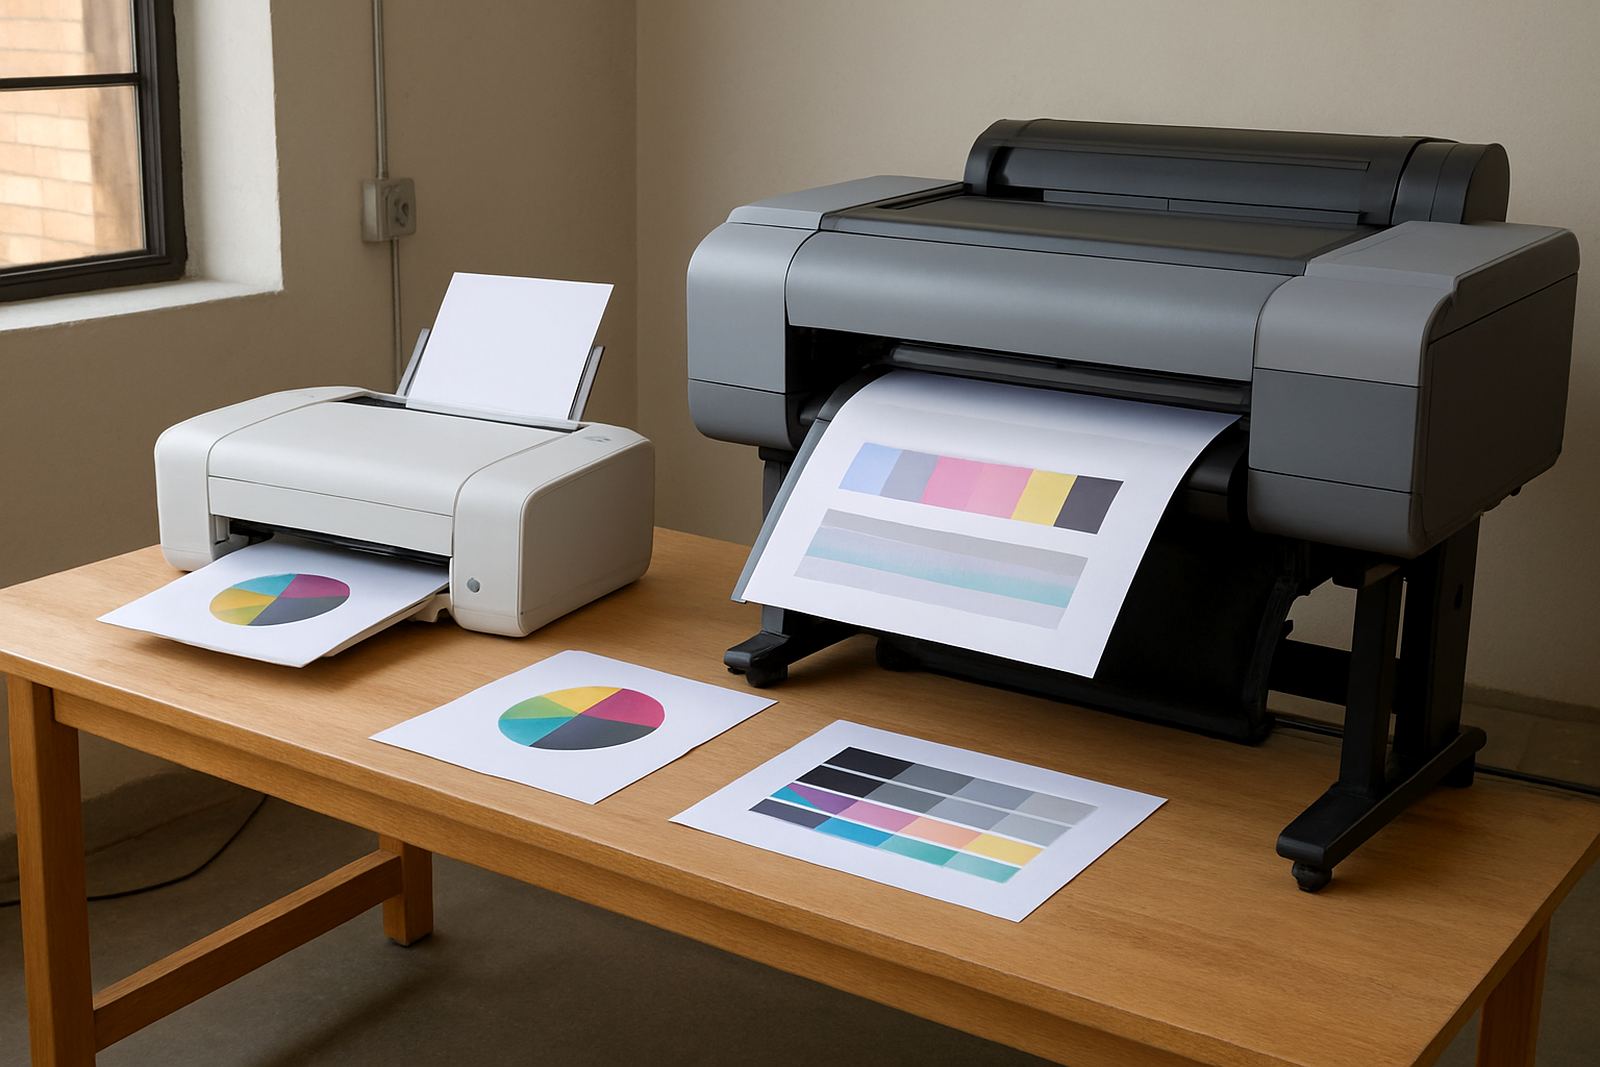
Fresh prints need room to dry, especially on heavier coverage jobs or colour posters with solid backgrounds. Put them on a clean rack or lay them flat in a dust free area until the ink has settled. If sheets are stacked too soon, the surface can offset and the back of the next print picks up marks. In humid coastal weather, drying can take longer than people expect, so plan a bit of extra time.
A dry print is easier to trim neatly and safer to handle. If a poster is curled from heat in the printer, let it relax before rolling or stacking. Rushing this step often means the sheet springs back under the ruler or catches on the cutter. For bulk jobs, keep each size separated with a label so nobody mixes a 594 mm proof with a 610 mm poster run.
Match the media to the job, not just the printer
Not every roll is meant for the same use. A short run of proof posters for a client meeting may only need a lighter coated paper, while an indoor display for a reception area may need a heavier stock that sits flatter and looks smarter under lighting. If the job is going to be handled often, or moved between offices in Cape Town and Somerset West, choose a media that can take a bit of handling without scuffing too easily.
Ask a few plain questions before you order or load a roll: will it be framed, pasted up, folded, or couriered? Will it sit in strong sun, under strip lighting, or in an air conditioned office? The answer changes the paper choice and the trimming allowance. That kind of planning saves ink, time and reprints, and it is usually easier than fixing problems after the fact.
- Use lighter media for proofs and everyday internal posters.
- Use heavier coated stock for display pieces that must stay flat.
- Choose moisture aware storage if the stock will sit in a coastal print room.
- Keep a note of which rolls work best for which jobs.
A simple routine for busy Cape Town print rooms
A good roll handling routine does not need to be complicated. It needs to be the same every time. Check the roll, load it square, print with the right settings, let it dry, then trim on a clean surface. If each step is done in the same order, staff make fewer mistakes and new team members learn faster. In a shop that is sending posters across the city and also supporting walk in clients from Claremont or Bellville, that consistency keeps the work moving.
If a roll jams, curls badly or shows edge damage, stop and inspect it before pushing on. It is better to lose ten minutes than to lose a full roll and a deadline. A small bit of attention at the start can spare the team a lot of noise later on, and nobody wants that on a Monday morning.