Start With the wall, not the file
Before you choose paper or printer settings, measure where the poster will hang and how close people will stand to it. A small reception notice in Claremont needs very different sizing from a training poster in a Bellville boardroom or a retail display in Somerset West. Indoor work is usually read at arm’s length or across a room, so the size should suit the viewing distance as well as the message.
For most indoor jobs, common poster sizes are A4, A3, A2, A1 and A0. A4 works for notices and price sheets. A3 is useful for small promotions and internal signage. A2 and A1 are where posters start to have proper presence, while A0 is best for large graphics, event boards and visual displays that must read from further back. If the artwork is intended for a frame, measure the visible opening and allow for the print trim.
Match poster sizes to the right machine width
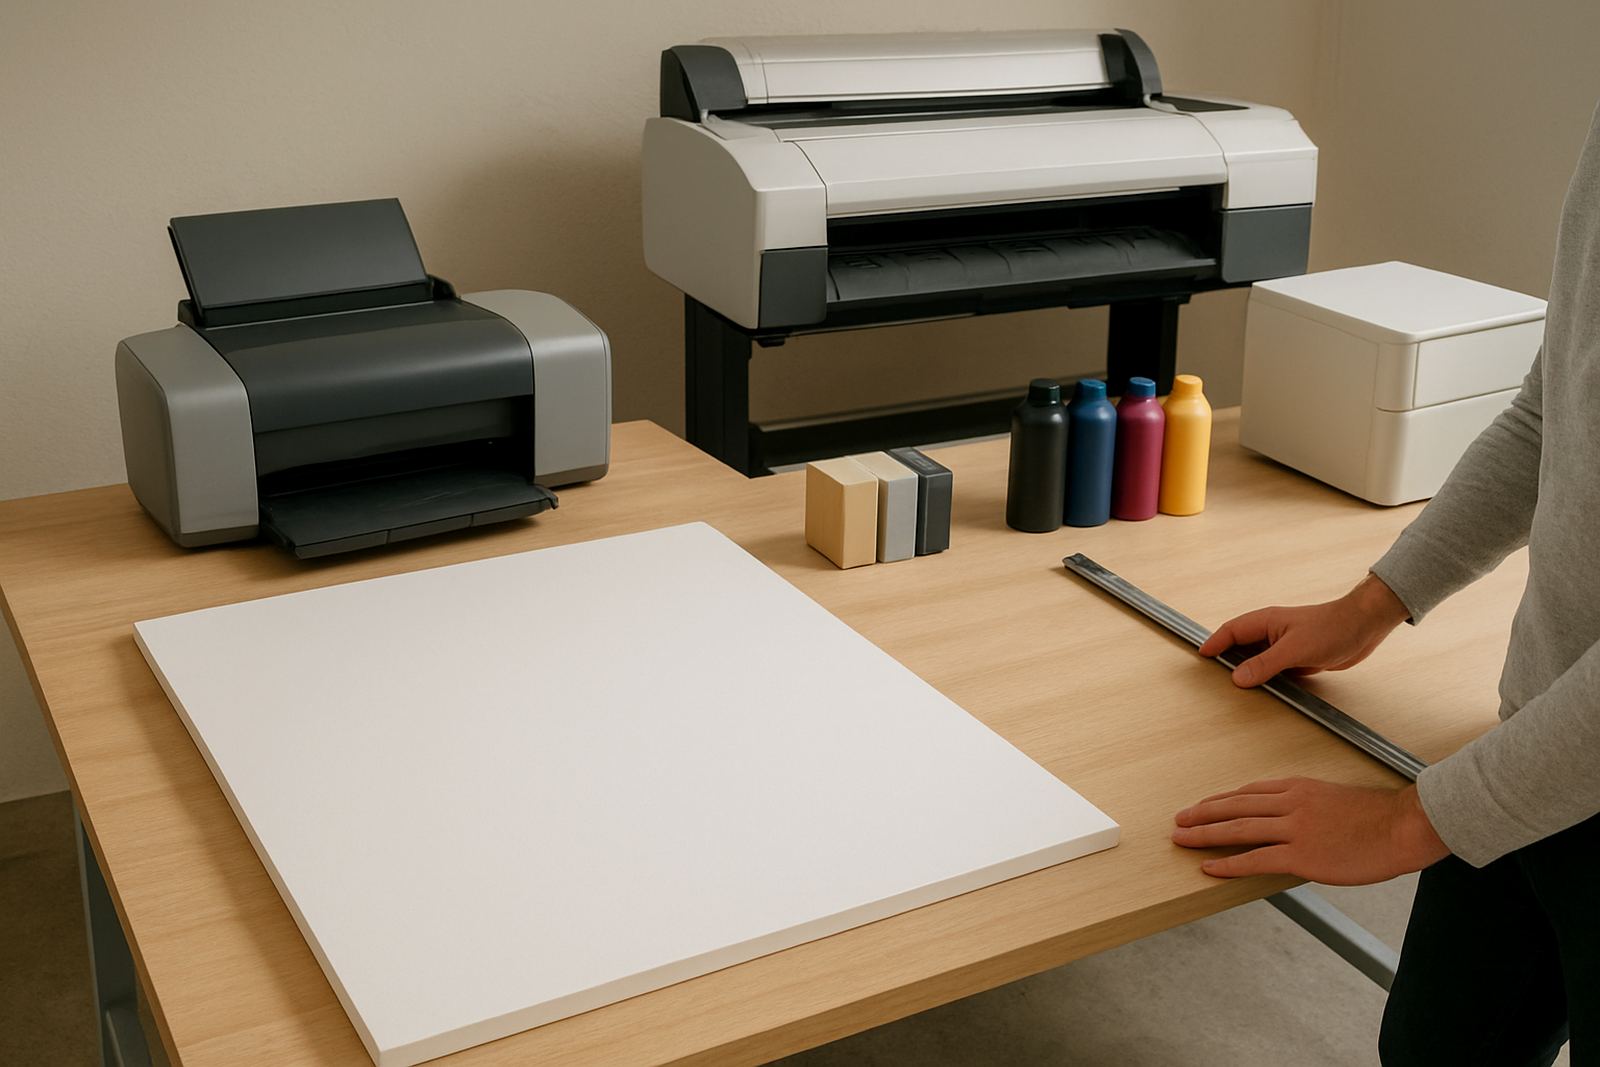
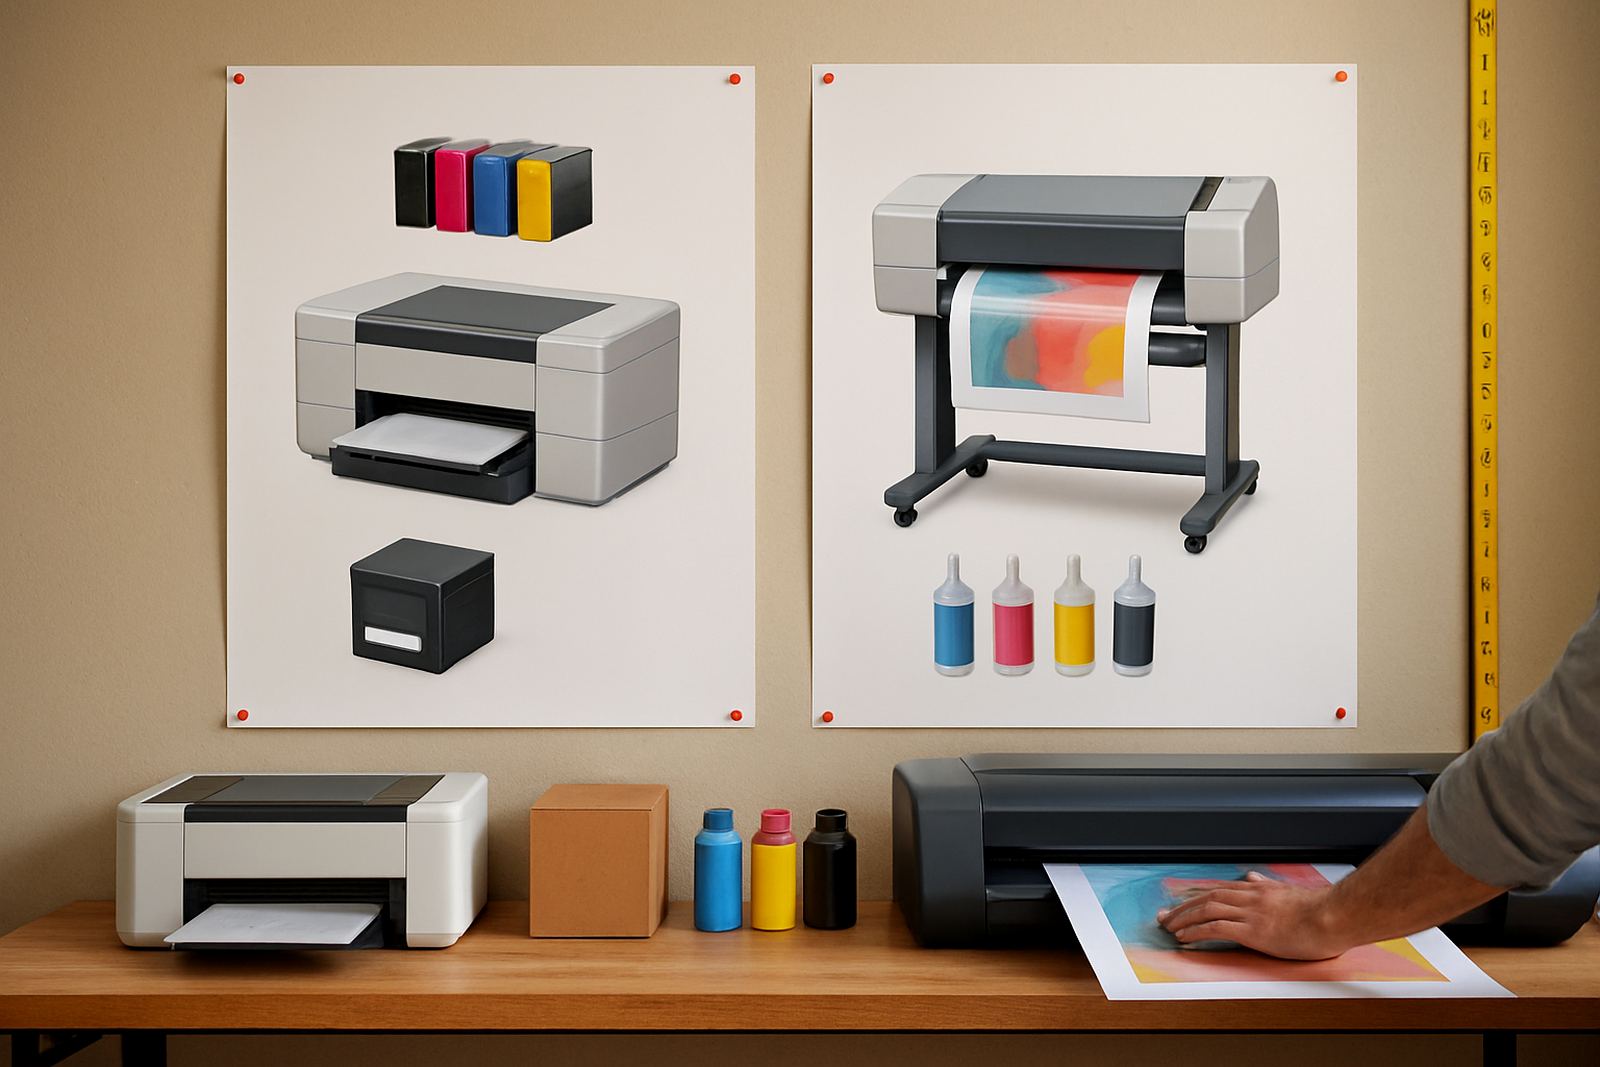
Printer width is the point many teams overlook. A machine may print colour very well, but if the media roll or sheet width is too narrow, you end up tiling artwork or shrinking a layout that should have stayed full size. In a print room, it helps to think in terms of paper width first, then poster size second.
- A desktop inkjet colour printer is usually fine for A4 and some A3 work
- 600 mm class machines suit compact posters, proofs and technical graphics
- 914 mm width machines cover most A1 and A0 indoor posters with room for margins
- 1 118 mm width machines give extra flexibility for wide layouts and gang printing
If you are producing posters for a Cape Town studio that also prints proofs and presentation boards, a wider machine often reduces handling time. You can print several smaller jobs on one sheet and trim them cleanly rather than running each one separately. That saves paper and keeps colour control more consistent.
Common indoor sizes and when to use them
Indoor poster planning becomes simpler when every size has a clear purpose. A4 is ideal for notices, appointment sheets and short instructional signage. A3 suits menu inserts, directional signs and staff communication. A2 works well for promotions in a shop window or an internal campaign board. A1 is the workhorse size for events, school notices and office displays. A0 should be reserved for big impact work, where a large visual is more important than compact placement.
- A4: notices, price sheets, simple posters
- A3: internal notices, menu inserts, small promotions
- A2: window posters, event reminders, campaign graphics
- A1: presentation boards, display posters, venue signage
- A0: large indoor displays, exhibition graphics, room visuals
The important question is not only how big the poster is, but whether the message has enough breathing space. Too much text on an A3 poster becomes cramped very quickly. A simple headline, one strong image and a short call to action usually works better for indoor viewing, especially when the poster is near a doorway or reception counter.
Choose paper and ink for indoor colour output
Paper choice affects how the poster looks under office lights and in daylight from a window. Matte stocks are better where glare is a problem, while coated papers can give brighter colour for promotional work. In humid coastal areas like Cape Town, paper storage matters too. Keep sheets sealed and flat, because moisture can curl edges and affect feed consistency.
Ink choice should suit the job. For everyday indoor posters, standard colour ink may be enough if the print is handled carefully and displayed inside. For more demanding work, especially where the poster needs stronger colour saturation or better resistance to handling, it helps to use the right matching consumables and media from the start. If the posters will be changed often, practical supply planning matters more than chasing the lowest per print cost.
Load-shedding also plays a part. When power is unstable, keep your print queue short and avoid starting a long run that may need to be restarted. A clean, planned print batch is easier to manage than trying to recover a half printed poster after a power cut.
Plan for trimming, borders and framing
Poster size planning should always include trim allowance. A file set exactly to A1 can still be awkward if the printer needs a border for feeding or if the poster must fit into a frame. Leave enough margin for cutting, and check whether the final display is landscape or portrait before you release the job.
A neat rule is to design for the finished size plus a small safety border. That gives the operator room to trim square edges and keeps key text away from the cut line. If a poster is going into a frame, confirm the visible aperture and not just the outer frame size. Many teams get caught when the printed artwork fits the frame but important text sits under the lip.
- Allow extra margin for trimming and feed edges
- Keep logos and small text away from the cut line
- Confirm portrait or landscape before printing
- Check the frame opening, not only the frame outer size
A practical Cape Town example from a busy print room
At a Ndabeni office near Montague Gardens, a small design team may need A3 proofs in the morning, A1 event posters by lunchtime and a few A4 notices for the following day. In that kind of setting, the right size planning saves time on every run. The team can keep one colour printer for everyday office output and a wider machine for posters, then choose the job based on size not habit.
For example, if a client wants indoor posters for a Claremont launch and the same artwork must also be used in Bellville and Somerset West, it makes sense to prepare a master file that scales cleanly across A3, A2 and A1. That way the message stays consistent, the print area is controlled and reprints are simpler when dates or prices change.
When poster demand grows, the next step is usually less about buying more machines and more about matching output width to real usage. A print room that knows its common sizes can order media sensibly, keep inks in step with demand and avoid last minute courier delays. That is where planning pays off.
When to step up from office colour to wide-format
If your team is printing posters every week, not just now and then, a desktop machine may become the wrong tool. The signs are easy to spot: repeated reprints, paper waste, awkward scaling and too much operator time spent on trimming or stitching tiles together. Once that starts happening, it is time to consider a wider colour machine with the right media path.
Wide-format makes sense when you need:
- A1 or A0 posters on a regular basis
- Multiple sizes from one artwork file
- Cleaner production for proofs and presentation boards
- Better control over ink use and paper matching
For South African teams, especially those balancing office colour work with poster output, the best setup is usually the one that fits the most common sizes without forcing every job into a compromise. That keeps the colour output predictable and the supply chain simple, whether the work is staying in Cape Town or going out nationwide by courier.