Start with the final use, not the file
A presentation board is not just another colour print. It may be clipped to foam board, pinned up for a client meeting, carried between offices or handled by a sales team on site. That means the sheet has to suit the way it will be used after printing, not only the way it looks on screen.
If the board will be mounted, consider the size of the final panel and leave enough trim for clean edges. A proof for a Claremont design review may only need A3, but a pitch board for a Somerset West development can need larger sheets so text, plans and images hold up when viewed from across a table.
- Check the final mount size before you send the file.
- Allow trim if the print will be cut after output.
- Keep key text away from the edges and fold lines.
- Use the same scale across all pages in a set.
Choose paper that supports the message
The paper finish affects both colour and handling. Smooth coated media gives sharper image detail and stronger solid colour, while uncoated sheets can suit text-heavy boards where quick annotation is needed. For client review, a matte finish often reduces glare under office lighting and makes diagrams easier to read. In a sunny Cape Town meeting room, that matters more than people expect.
Weight also plays a part. Thin sheets may curl after printing or buckle under glue, especially in humid coastal conditions. Heavier stock feels more professional and survives mounting better, but it should still feed cleanly through the printer and cut neatly on the guillotine.
- Matte stock for readable boards under bright lighting.
- Heavier paper for mounted presentations and handover sets.
- Coated media for photos, renderings and strong colour blocks.
- Test a sample if the sheet will sit in a frame or under laminate.
Build colour for approval, not just display
Presentation board output should show the design honestly. If the client is approving a retail concept, product display or office fit-out, the colours on the sheet need to match the actual intention closely enough for decision-making. Strong reds, dark blues and greys can shift if the wrong profile, ink set or media is used.
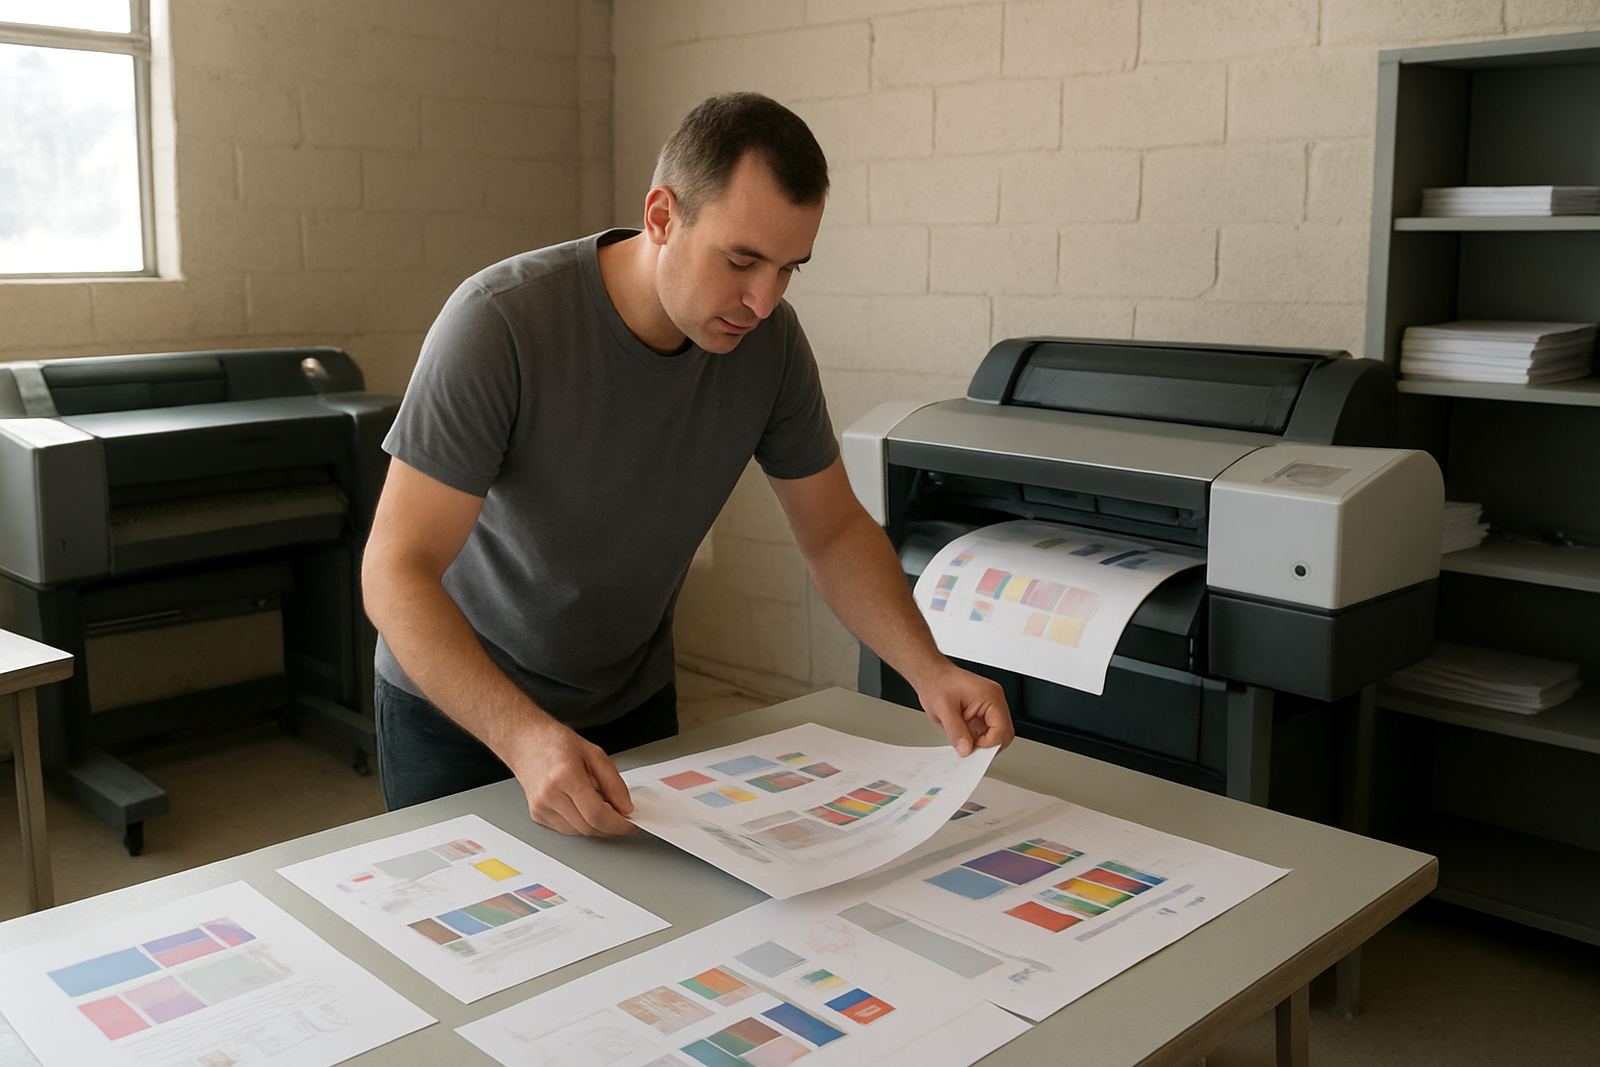
For a sign shop in Montague Gardens preparing review boards for a chain store, it helps to print one controlled proof before the full run. Check skin tones, brand colours, background greys and any fine linework. If the proof looks too cool or too dark, adjust before the remaining sheets are printed. It is cheaper to change one proof than 20 presentation copies.
- Print a single test sheet before committing to the full job.
- Keep a record of preferred settings for recurring clients.
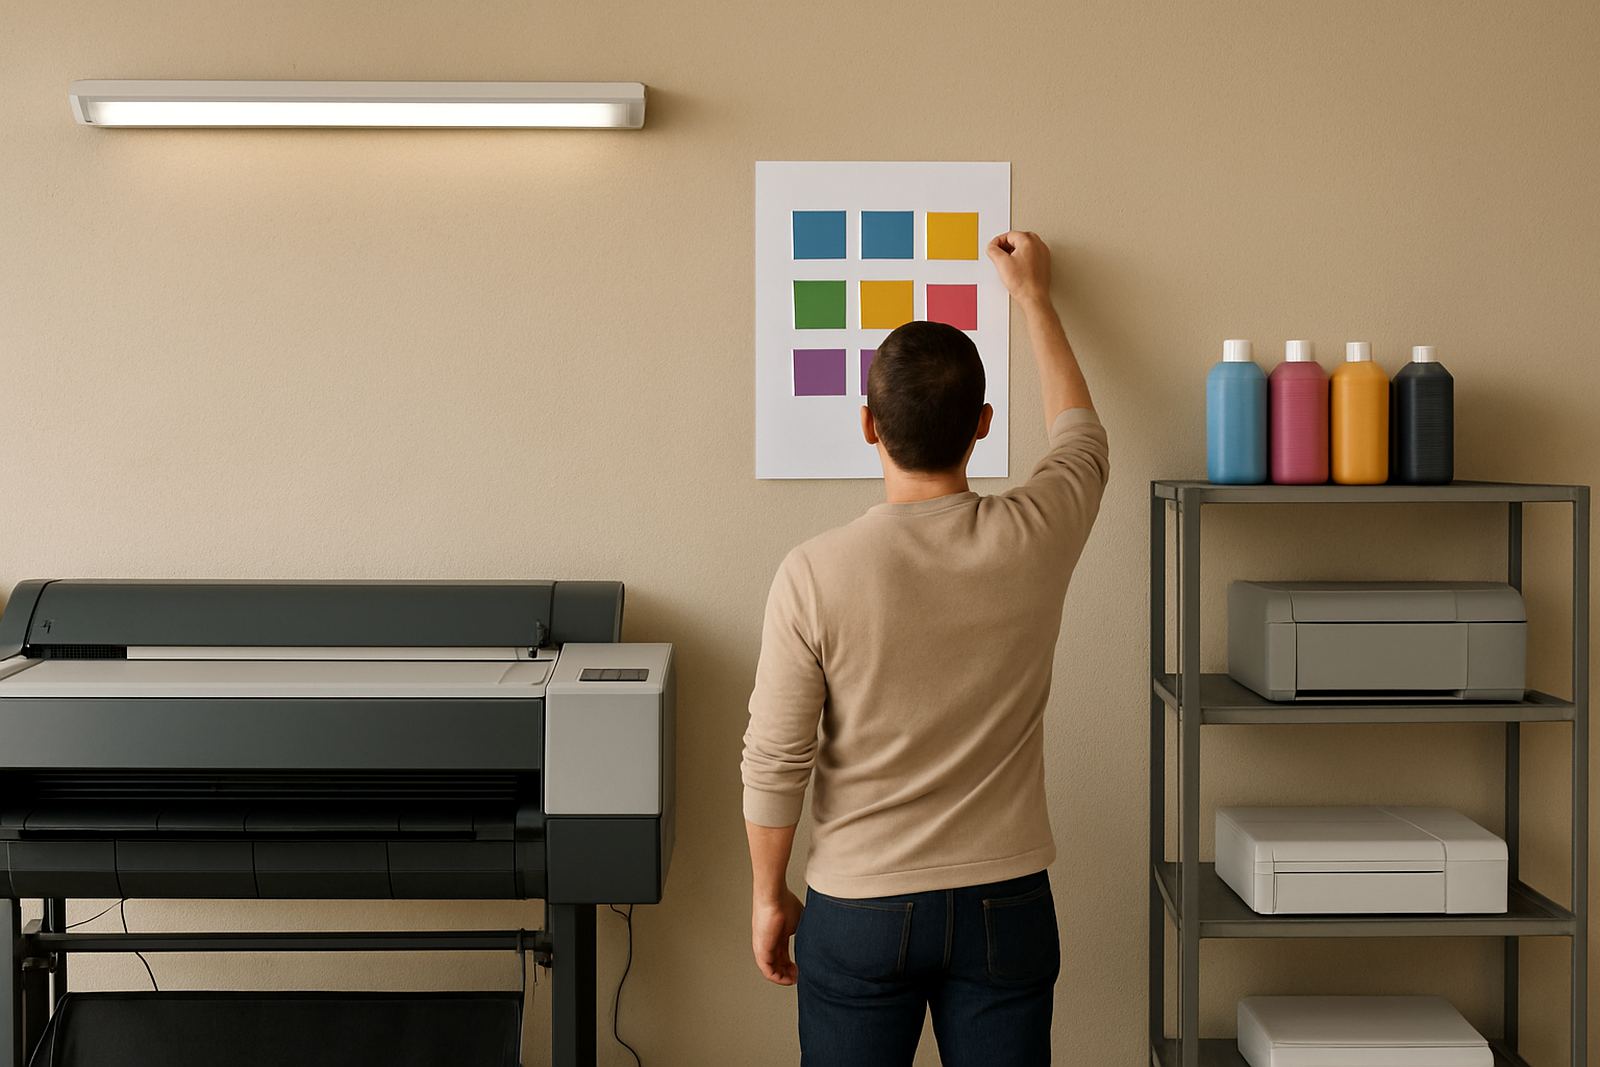
- Check greys and brand colours under the same light as the meeting room.
- Avoid changing file settings on every reprint.
Plan ink use around the board layout
Large blocks of colour, dense backgrounds and full-bleed images use more ink than a text sheet, so ink planning matters. On wide-format boards this becomes even more important, because heavy coverage can slow drying and increase the risk of marking during handling. A board that looks finished at the printer can still pick up fingerprints if it is rushed into a courier sleeve too soon.
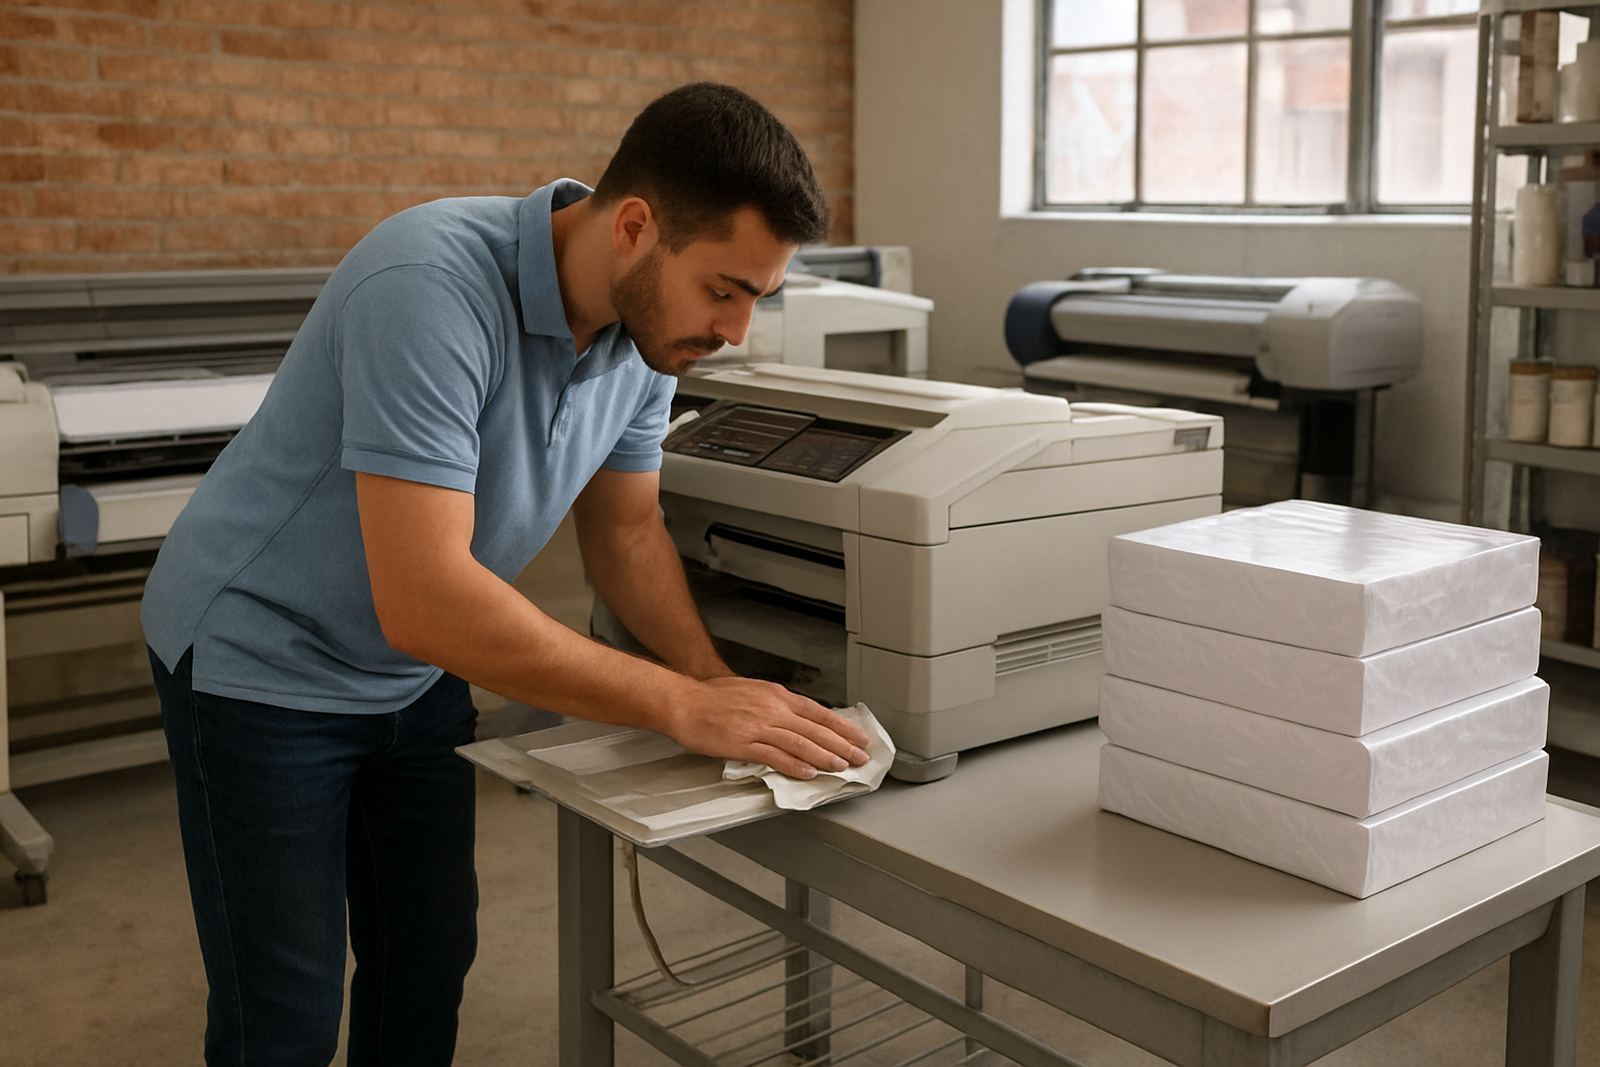
For busy offices and studios working through load-shedding, it also helps to keep consumables ready before the day starts. If the printer is moved after power cuts or used intermittently, nozzle checks and quick maintenance can prevent streaks on the first board of the morning.
- Allow drying time before stacking or mounting.
- Keep spare ink on hand for large presentation runs.
- Run a nozzle check after long idle periods.
- Watch for banding on full colour backgrounds.
Mounting and handling affect the final result
A good print can still look untidy once it is mounted. Edges need to be square, corners must stay flat and the sheet should not cockle under adhesive. If the board will go onto foam, PVC or a backing sheet, talk through the method before output. Some teams prefer spray adhesive, others use tape strips or cold mounting, and each one places different demands on the print.
In Ndabeni, where many jobs move quickly from print to finishing, the best results usually come from a simple routine: print, dry, cut, inspect and then mount. Rushing the process can leave roller marks or slight curl which shows up immediately on a clean white backing board.
- Keep the print flat while it dries.
- Use clean blades for trimming.
- Check corners after mounting, not only before.
- Store finished boards upright only when fully dry.
Use one supplier for output, ink and support
When presentation boards are part of daily work, it helps to have one contact who understands printers, inks and the media that suits each job. That makes it easier to plan reorders, check print quality and match output to the way the board will be used. A team in Bellville may need quick courier supply for a client review, while a Woodstock studio might need help choosing between desktop colour and wider sheets for a bigger pitch.
MyColour works from Ndabeni with courier supply nationwide, so teams can keep board output moving without juggling separate suppliers. From printer installation and wide-format setup to consumable reordering and remote help, the aim is straightforward: keep colour output ready when the next review comes up.
- Plan stock before the client deadline arrives.
- Match printer type to the board size you use most.
- Keep contact details for support and dispatch in one place.
- Review consumables after every major presentation cycle.